How to Create an Apple Developer Account and Get a Pass Type ID Certificate (2026)
Enroll in the Apple Developer Program as a company or an individual, get a D-U-N-S number, then register a Pass Type ID and create the certificate that signs your Apple Wallet passes and the push key that updates them.
Every Apple Wallet pass is signed with a Pass Type ID certificate, and only a member of the Apple Developer Program can create one. This guide covers the whole path: enrolling your business with Apple, registering a Pass Type ID, creating the certificate and the push key, and adding both to WalletWallet so your passes carry your own identity.
Every step and price here was checked against Apple’s enrollment flow in October 2026.
Plan for about an hour of hands-on work. The waiting is longer: an organization without a D-U-N-S number can need a week or more before Apple accepts the enrollment.
What you need before you start
For every enrollment:
- An Apple Account with two-factor authentication turned on.
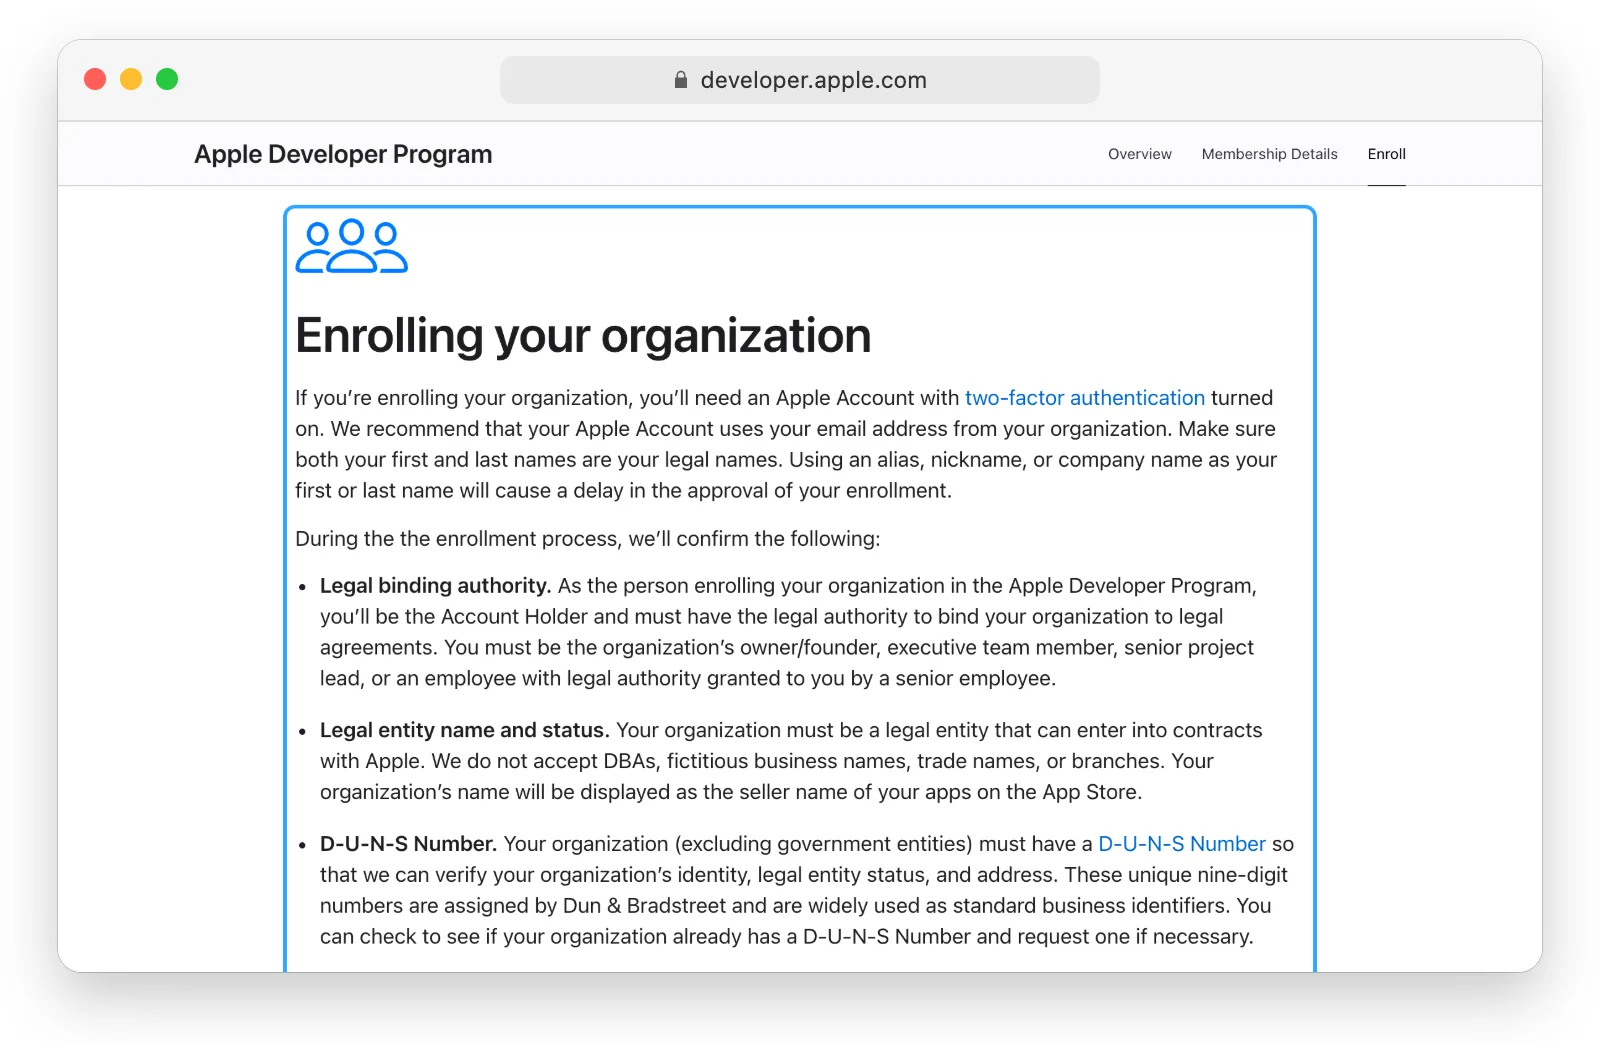
- Your legal first and last name on that Apple Account. Apple delays enrollments that use a nickname, an alias, or a company name in the name fields.
- 99 USD a year, charged in local currency where Apple prices it that way.
For a company, association, or school, also:
- Legal entity status. Apple accepts registered legal entities only. DBAs, trade names, fictitious business names, and branches are refused.
- A D-U-N-S number for that legal entity (government bodies are exempt).
- Authority to sign for the organization: the owner or founder, an executive, a senior project lead, or an employee granted that authority.
- A work email on a domain associated with the organization.
- A public, working website on a domain associated with the organization. Social media pages, near-empty sites, and registrar parking pages are refused.
Individual or organization
| Individual | Organization | |
|---|---|---|
| Who | You, under your legal name | A registered company, nonprofit, or school |
| D-U-N-S number | Not needed | Required |
| Team members | Only you | Invite colleagues with their own roles |
| Fee waiver | No | Available to qualifying nonprofits, schools, and government bodies |
A sole proprietor or single-person business enrolls as an individual: Apple does not list those as legal entities. Everyone else should enroll as an organization, so the account belongs to the business and survives a change of staff.
If you run several brands of your own, one organization account can hold a Pass Type ID for each. A platform or agency that issues passes for client businesses can keep each client’s own certificate in a separate credential set in WalletWallet, so every client’s passes carry that client’s identity.
Fee waiver for nonprofits, schools, and public bodies
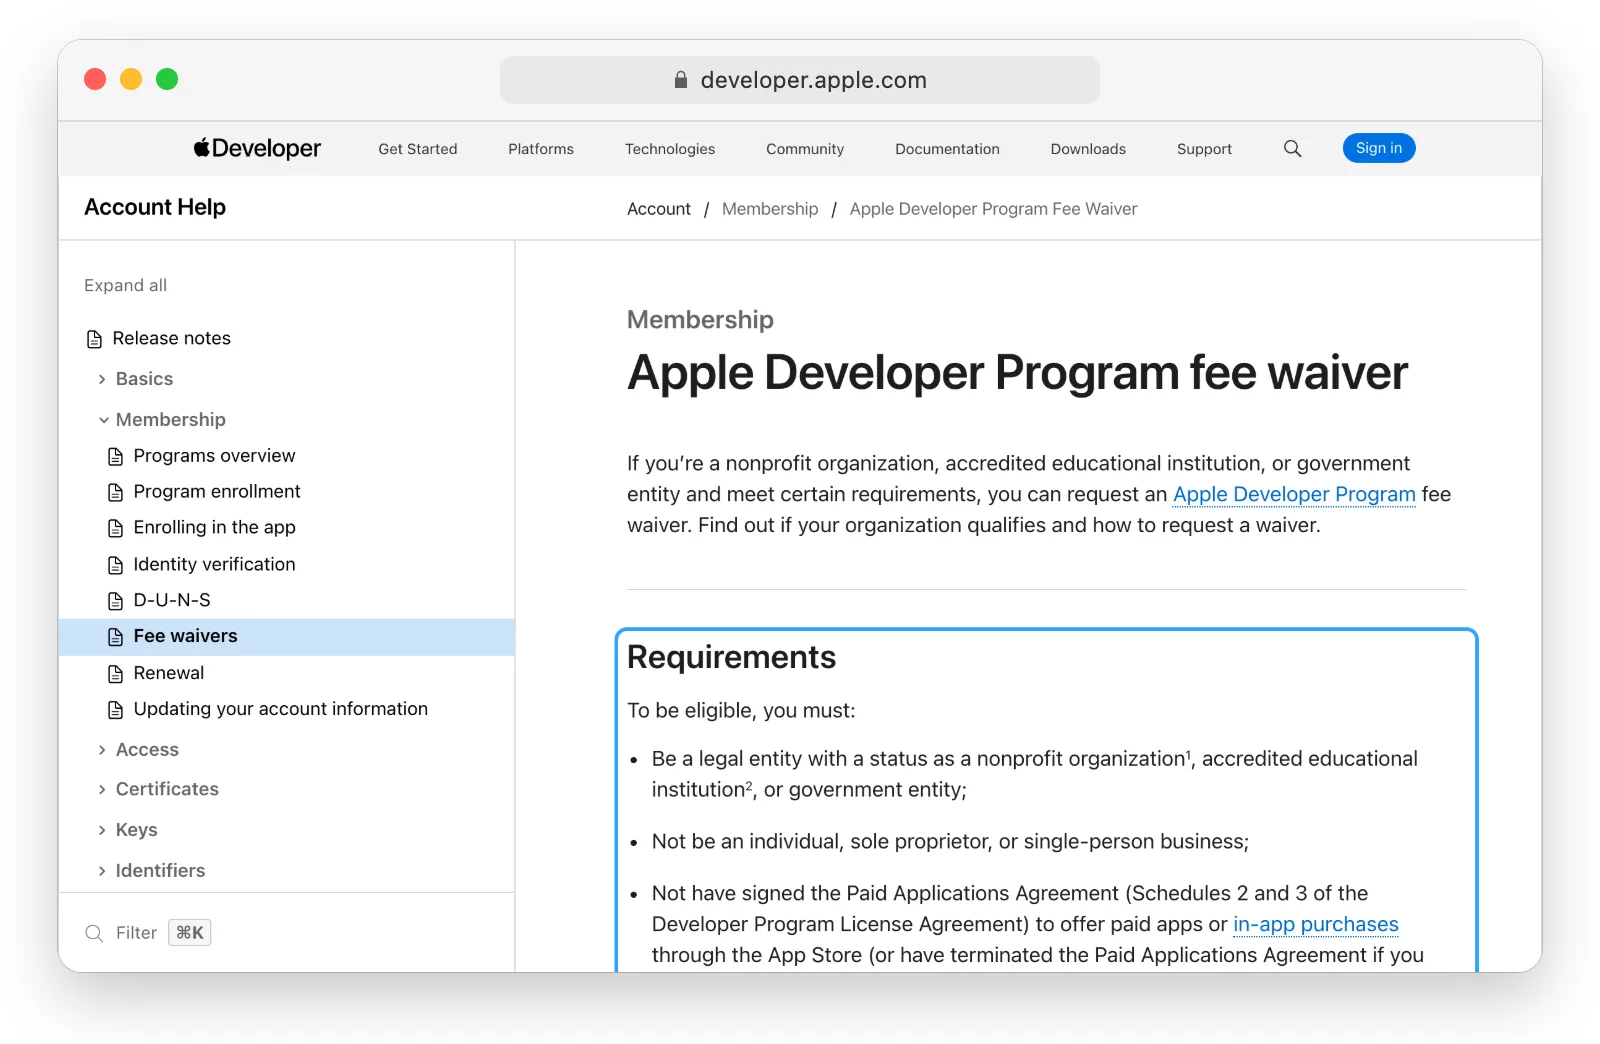
A nonprofit officially recognized in its country, an accredited educational institution, or a government entity can request that Apple waive the annual fee. The organization must not sell paid apps, in-app purchases, or other digital goods through the App Store. An association, club, or school with that legal status that only issues membership cards or student IDs can apply. Request it during the organization enrollment.
Step 1: Get or find your D-U-N-S number
Skip this step if you enroll as an individual.
Apple uses the D-U-N-S number from Dun & Bradstreet to check that your organization exists as a legal entity at the address you give. Many companies already have one without knowing it. Look yours up with Apple’s D-U-N-S lookup tool, which asks for the legal entity name, the headquarters address, a mailing address, and your work contact details.
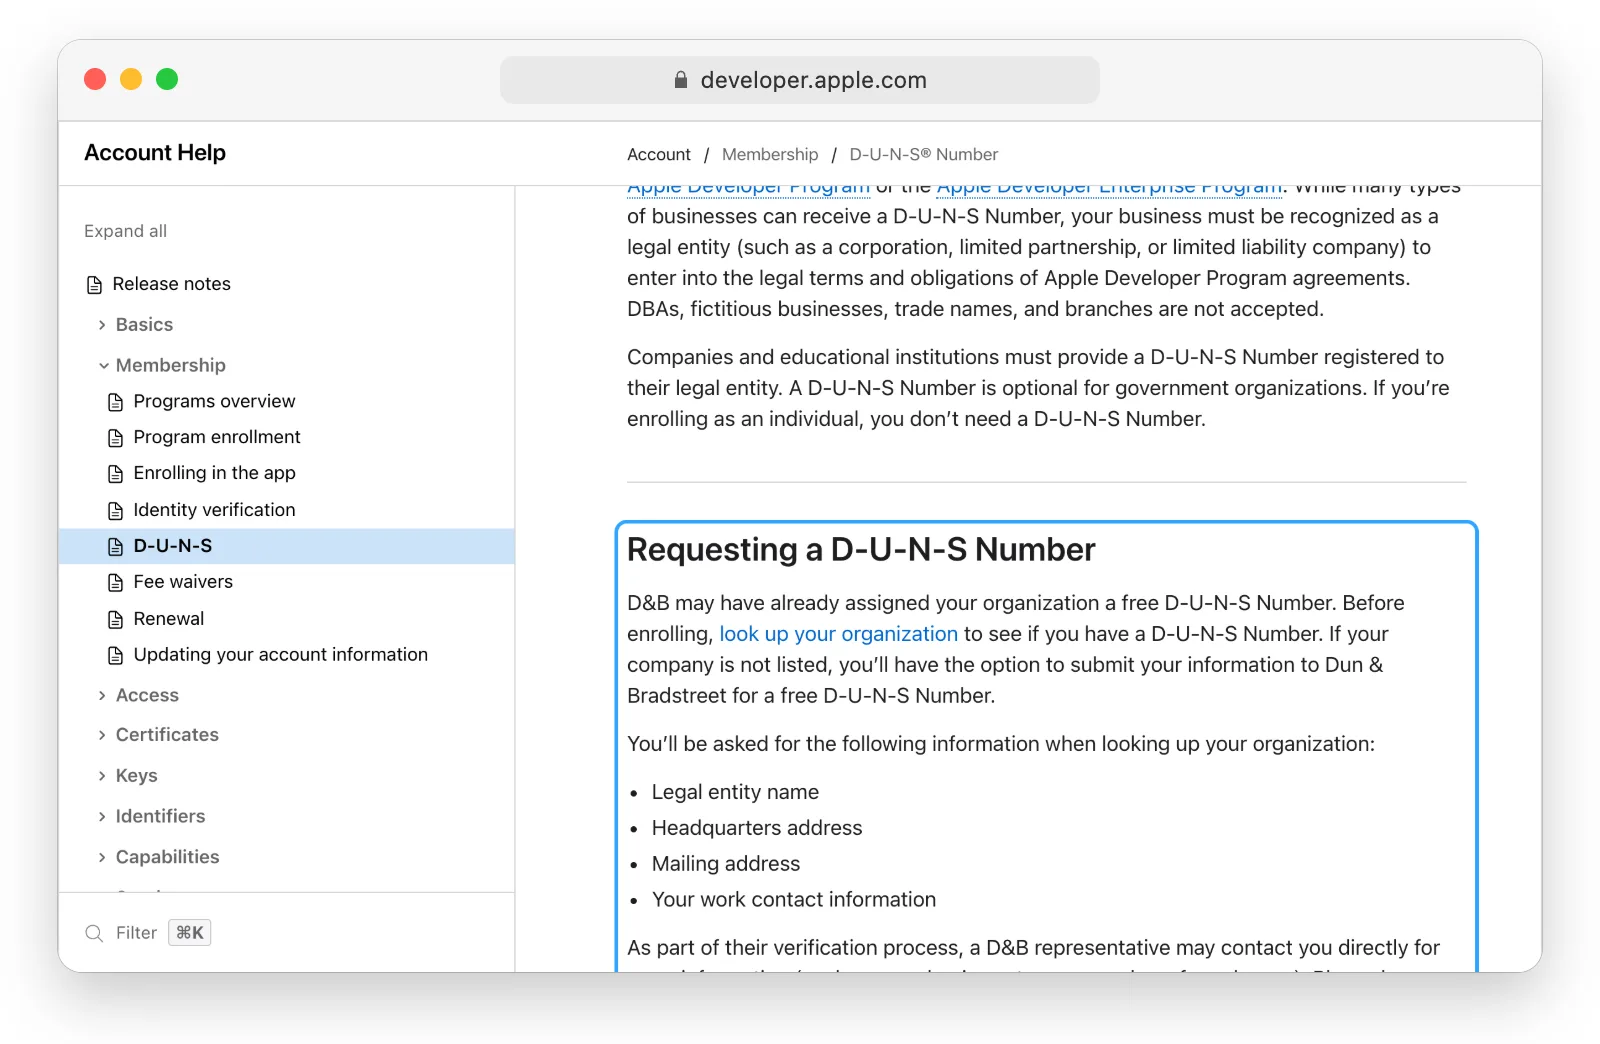
If no number exists, request one through the same tool. Apple says it is free in most jurisdictions. Dun & Bradstreet can take up to 5 business days to issue it, and Apple can take up to 2 more business days to receive it, so allow 7 business days in total. Have your business registration documents ready, because a D&B representative may call to confirm the business type and headcount.
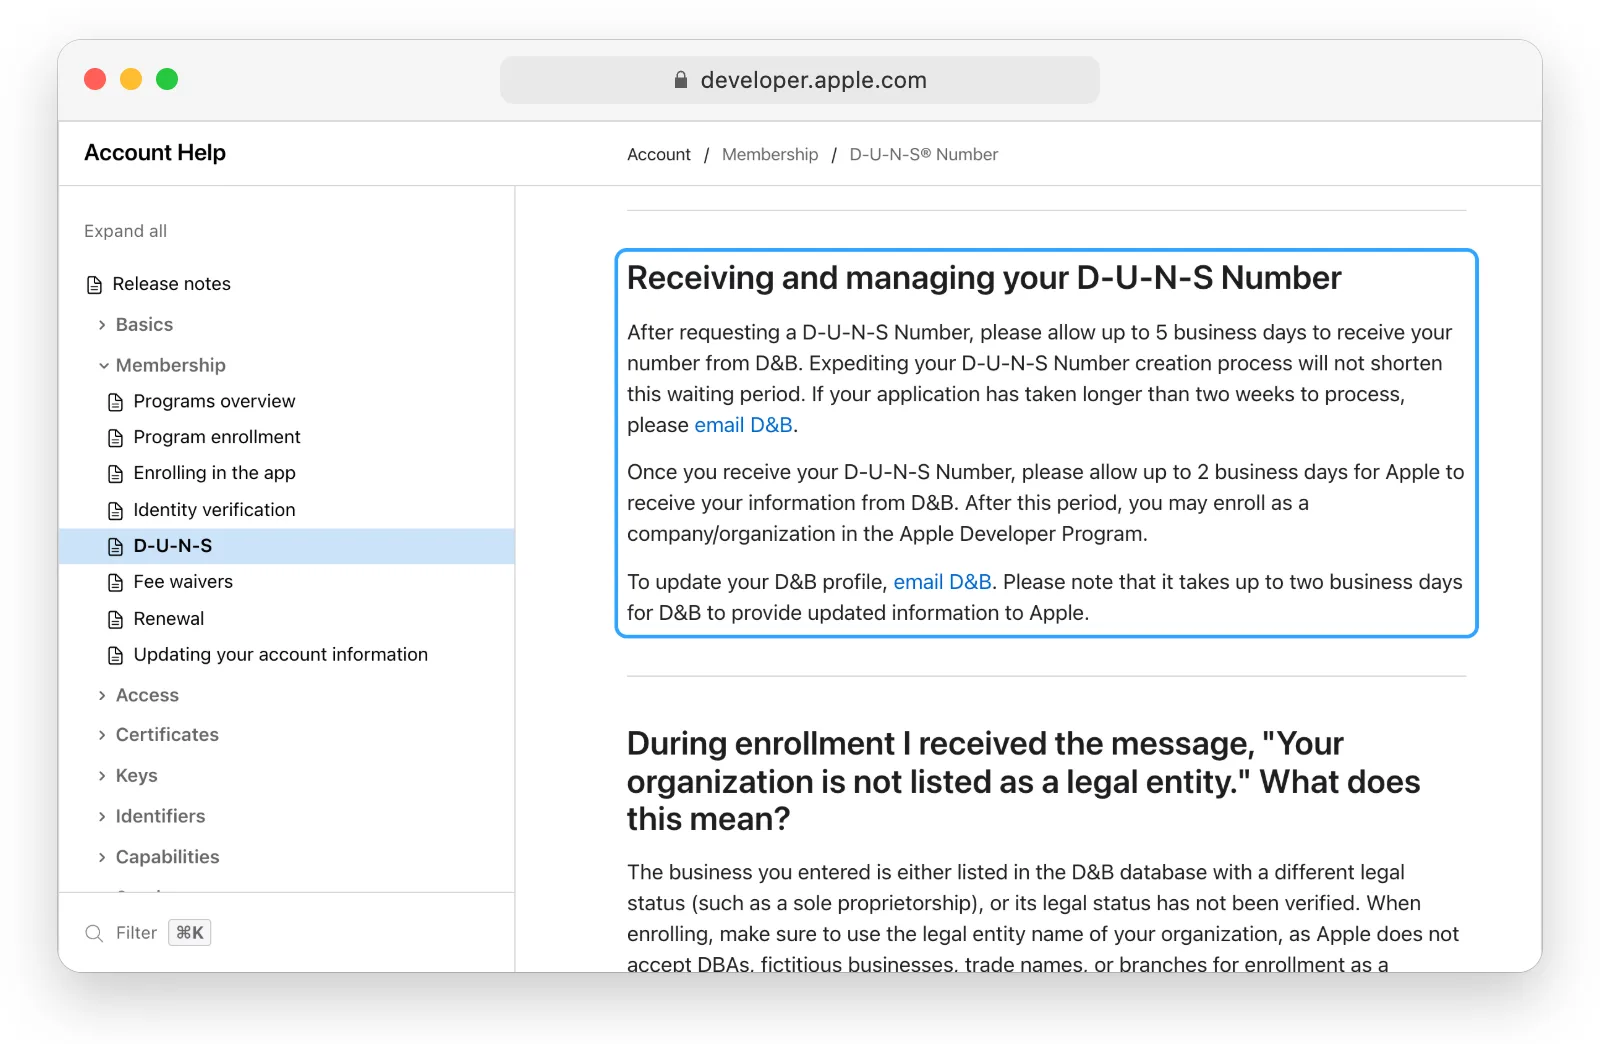
If the lookup says your organization “is not listed as a legal entity”, D&B has it recorded as something else, usually a sole proprietorship. Either enroll as an individual, or email D&B your registration documents and ask them to update the record.
Step 2: Enroll in the Apple Developer Program
There are two ways in: the website everywhere, and the Apple Developer app in the regions where Apple supports app enrollment.
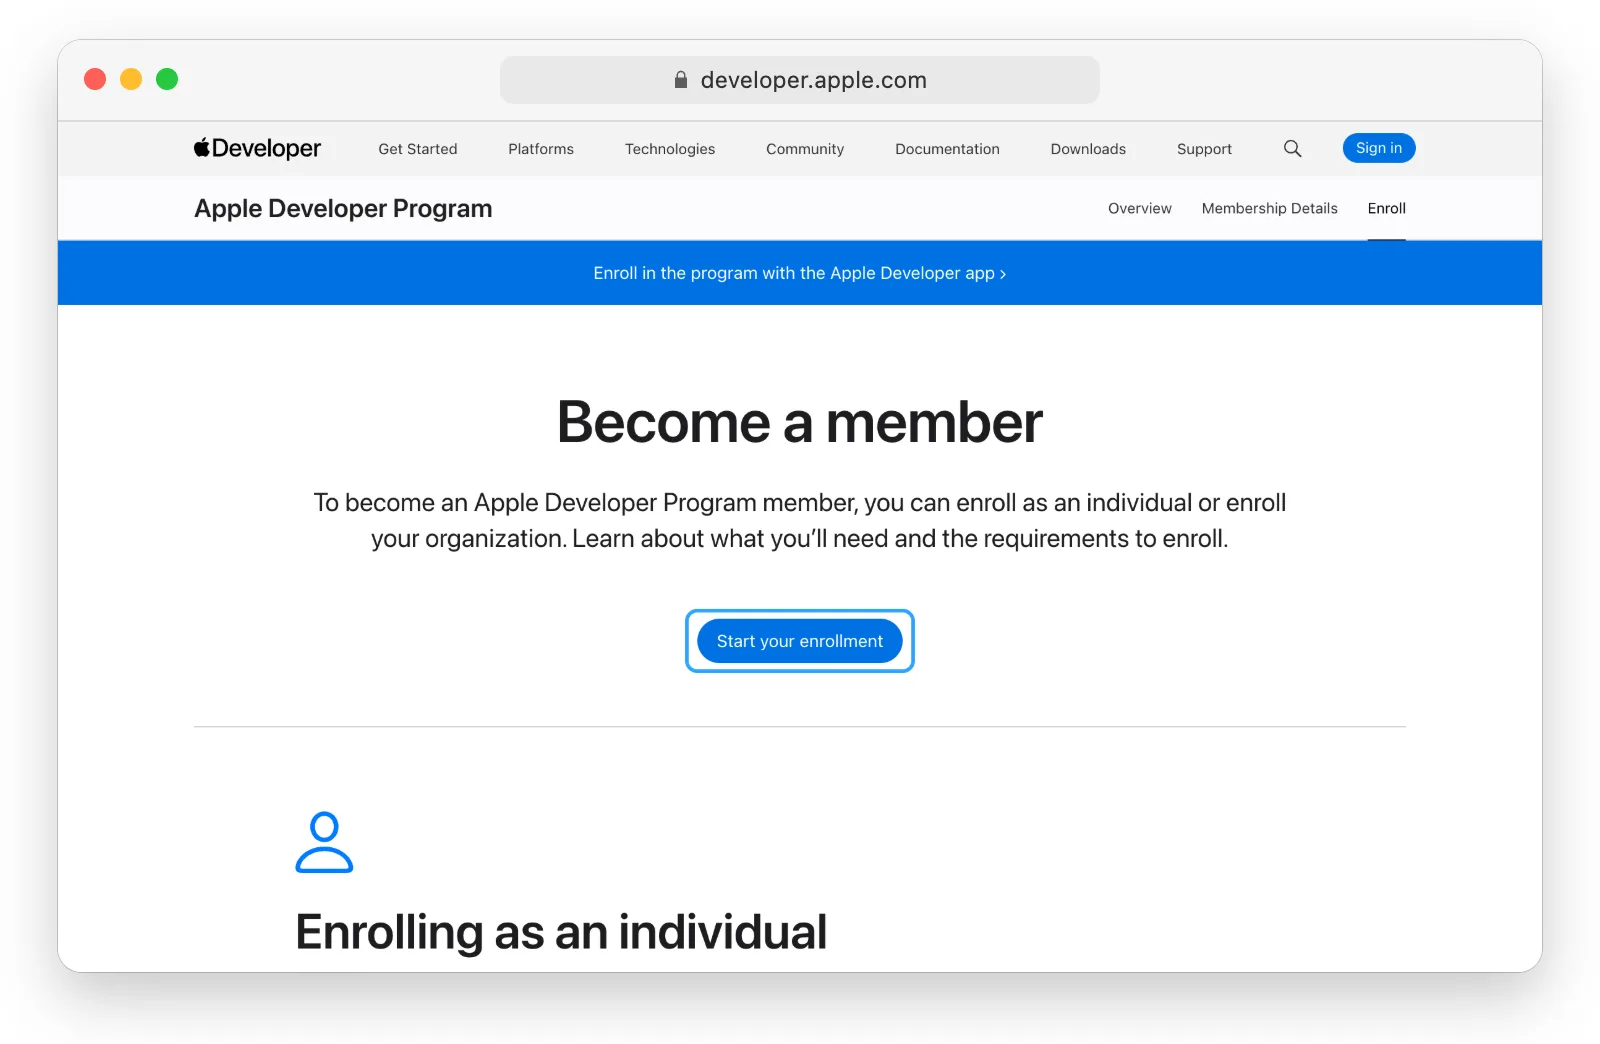
On the web. Go to developer.apple.com/programs/enroll, click Start your enrollment, and sign in with your Apple Account. Choose the entity type (individual or organization), fill in the legal details, agree to the Apple Developer Program License Agreement, and pay.
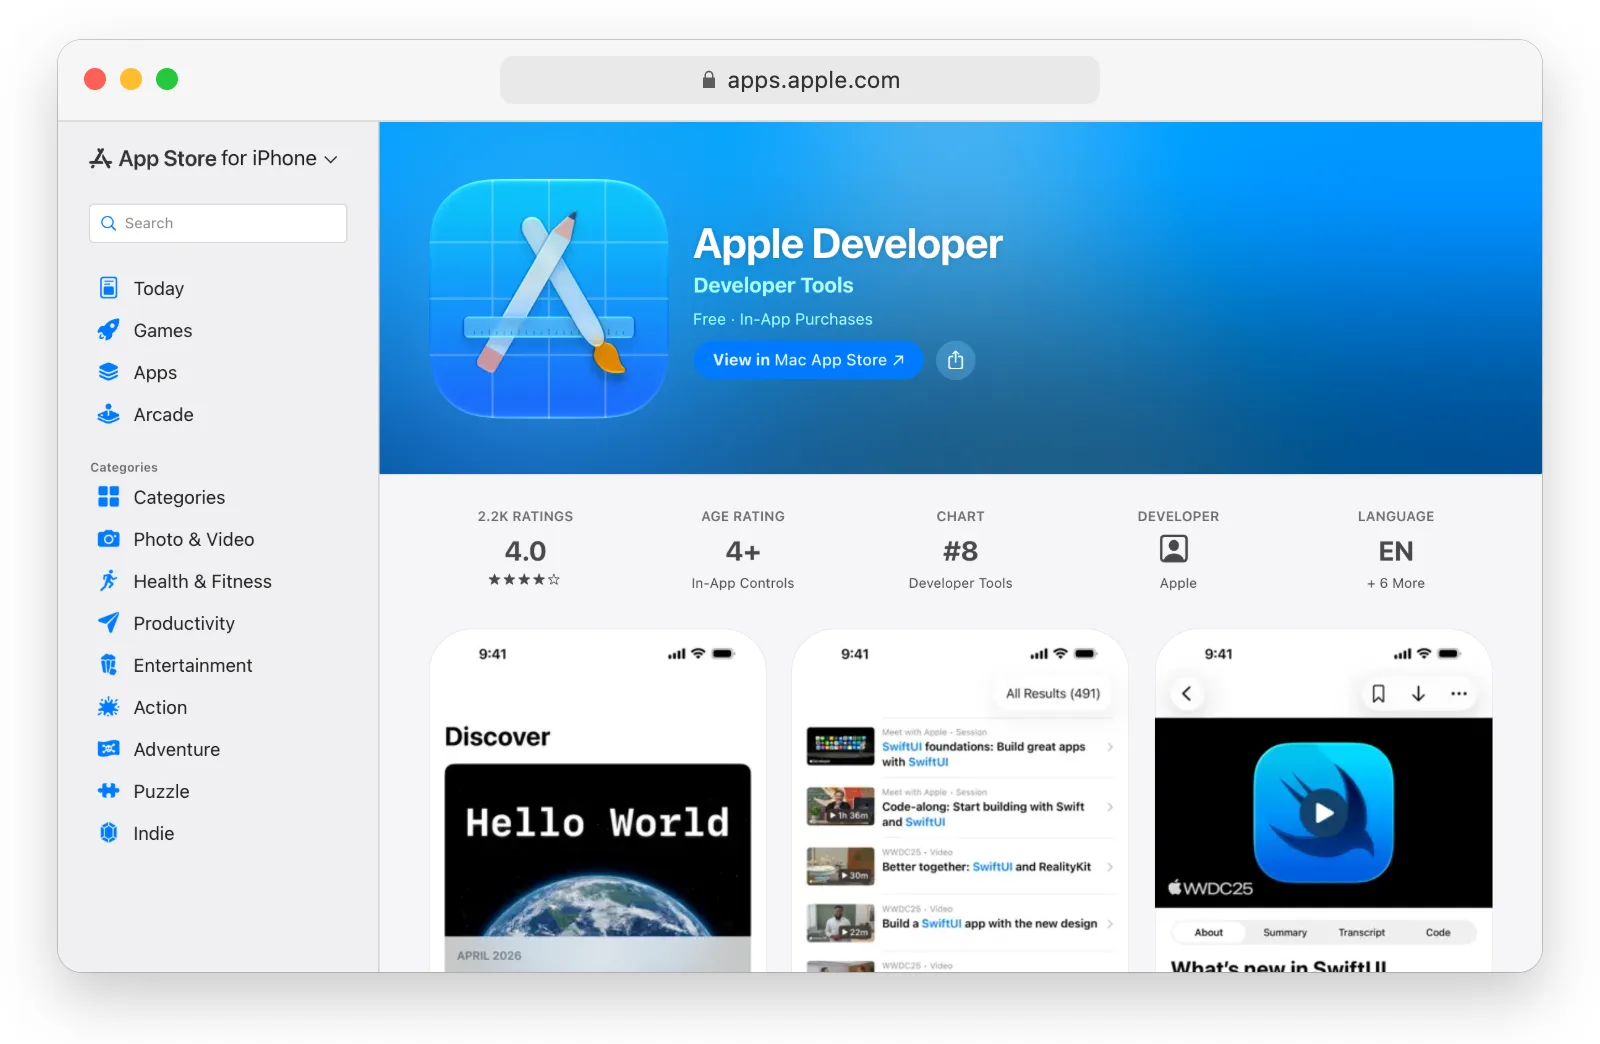
In the Apple Developer app. On an iPhone, iPad, or an Apple Silicon Mac, open the Apple Developer app, sign in, and tap Enroll Now. The app verifies your identity, usually with a government-issued photo ID, and takes payment as an App Store subscription. Stay on the same device from start to finish. The membership renews every year until you cancel it.
For an organization, enter the legal entity name exactly as it appears in the D-U-N-S record. A mismatch between the two delays the enrollment while Apple asks questions.
Apple emails you when the membership is active. From then on, Certificates, Identifiers & Profiles is available in your account.
Step 3: Register a Pass Type ID
A Pass Type ID names one kind of pass that you issue, for example your loyalty card or your event ticket. Open Identifiers and click the plus button next to the heading.
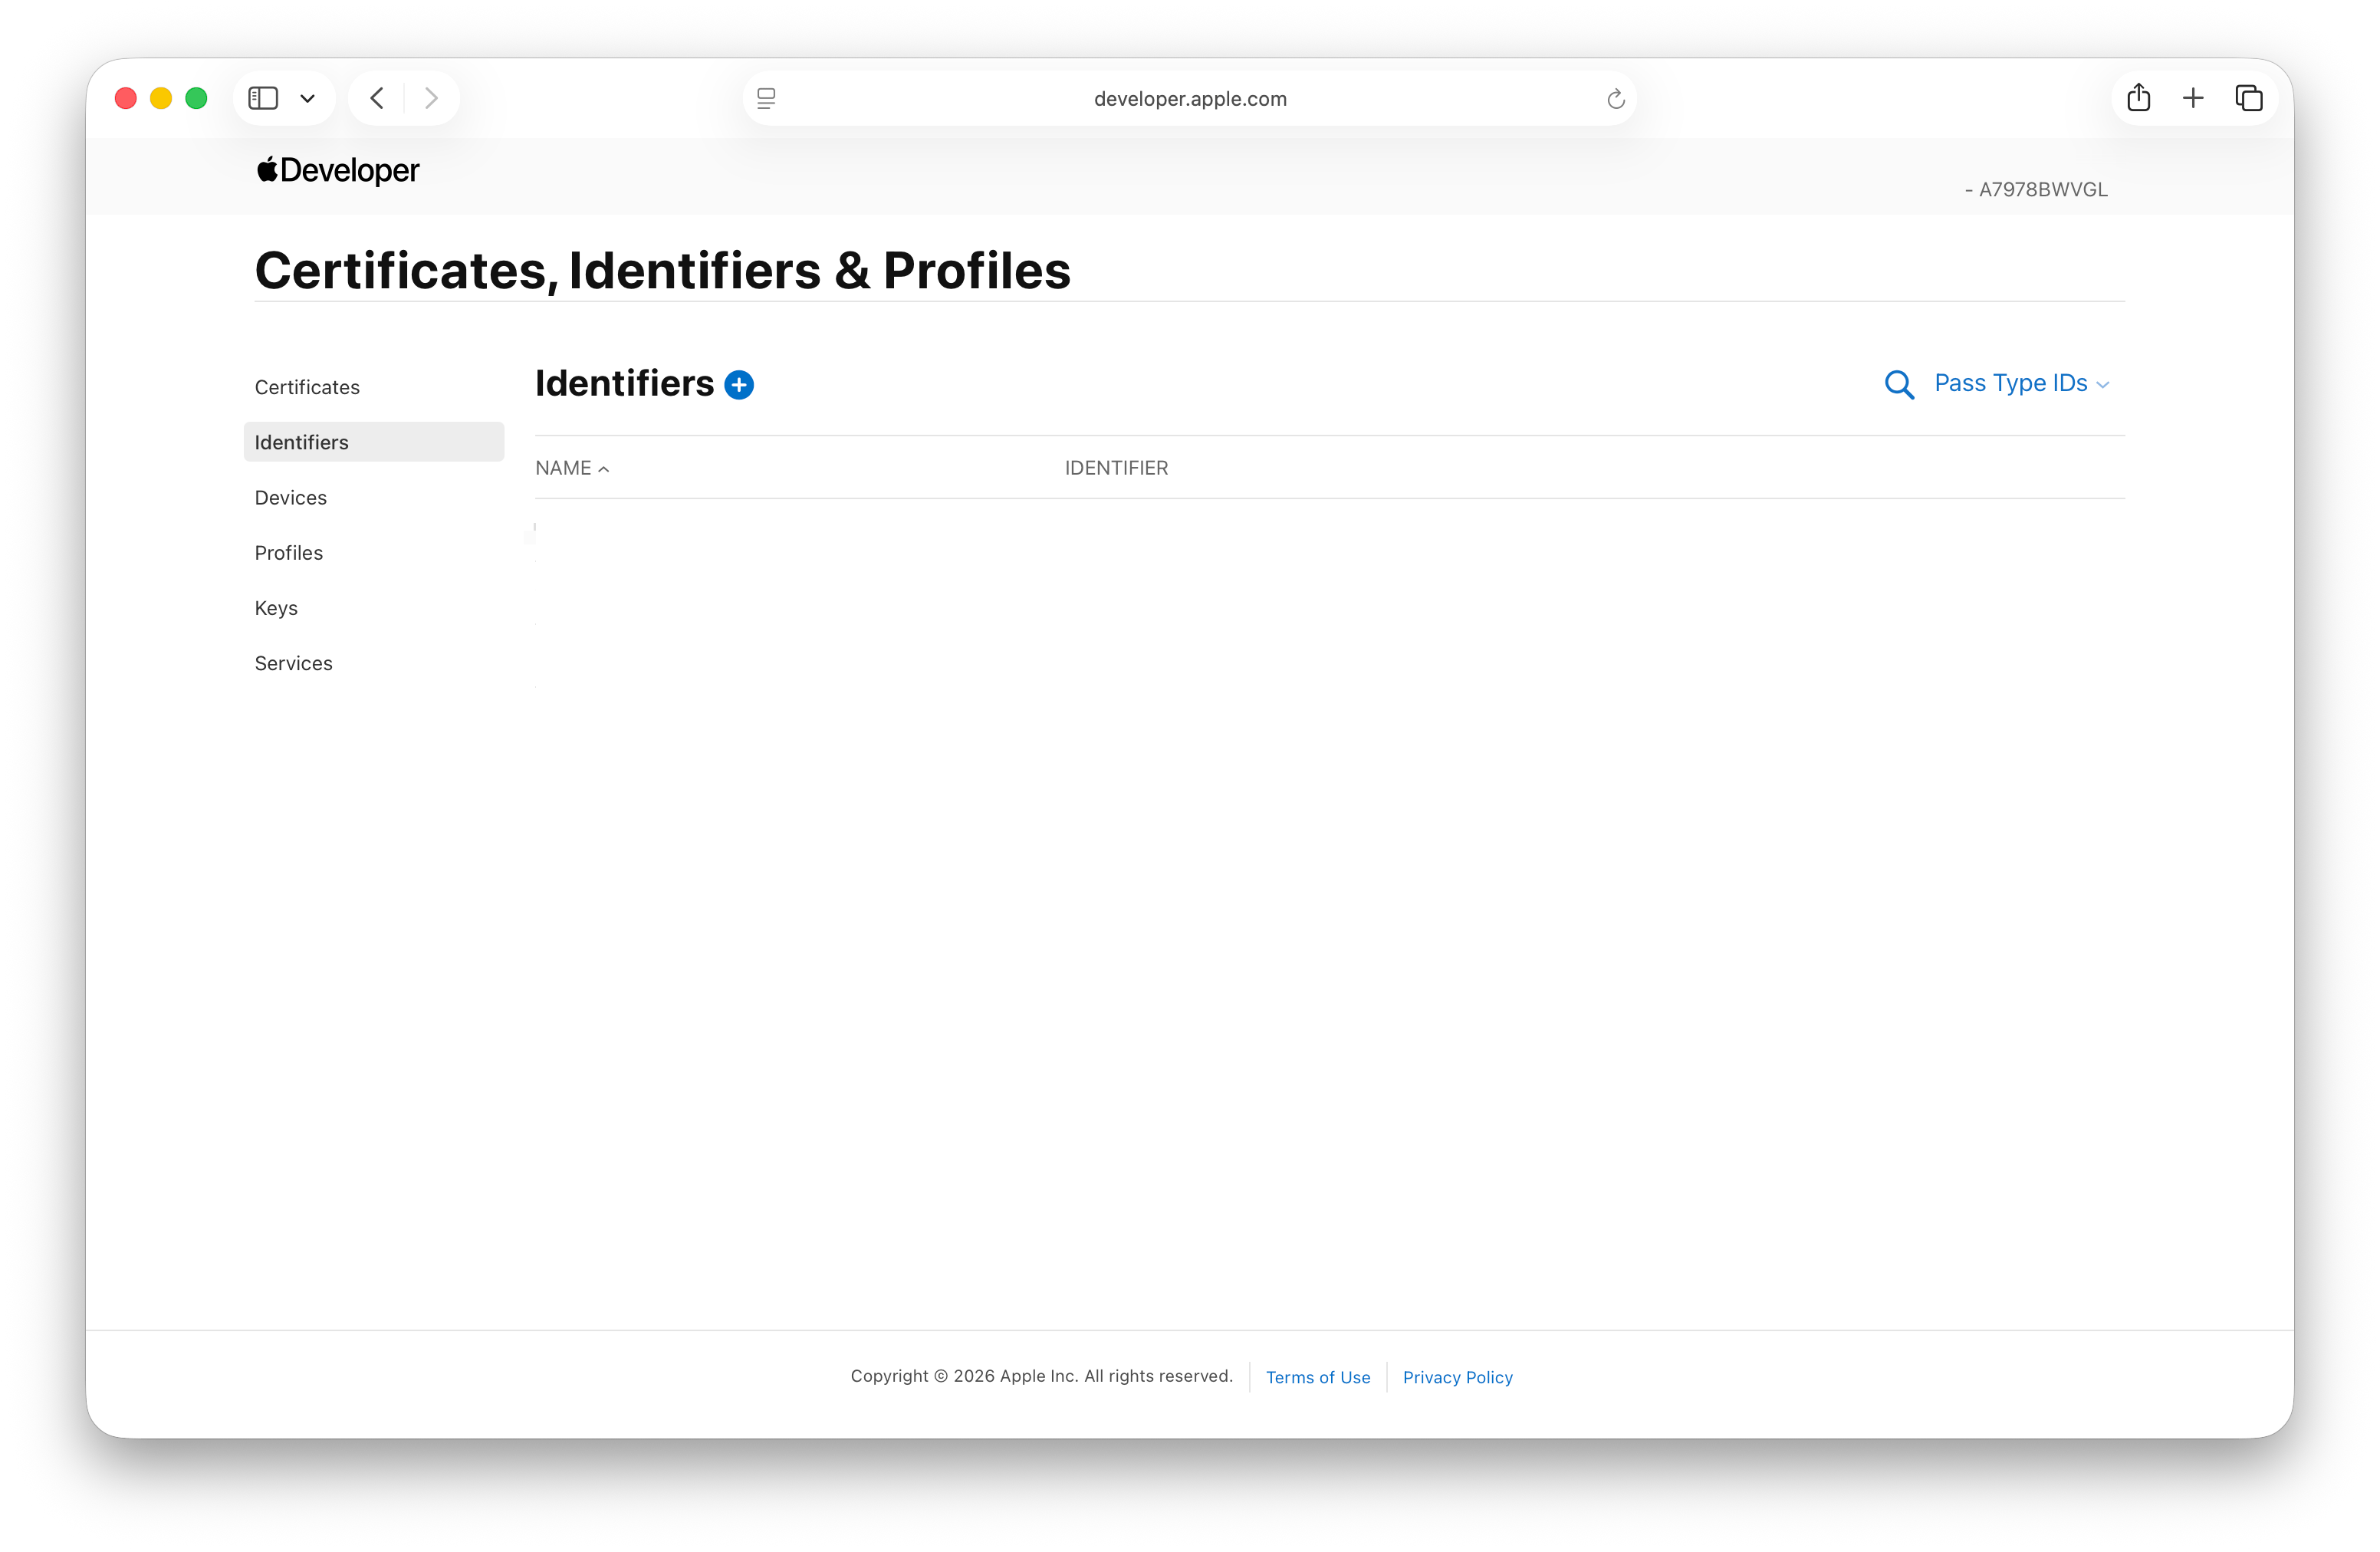
Choose Pass Type IDs from the list and click Continue.
Enter a description and an identifier in reverse-domain form, such as
pass.com.yourcompany.loyalty. The identifier cannot be changed later, so use
your own domain. Click Continue, then Register.
Step 4: Create the Pass Type ID certificate
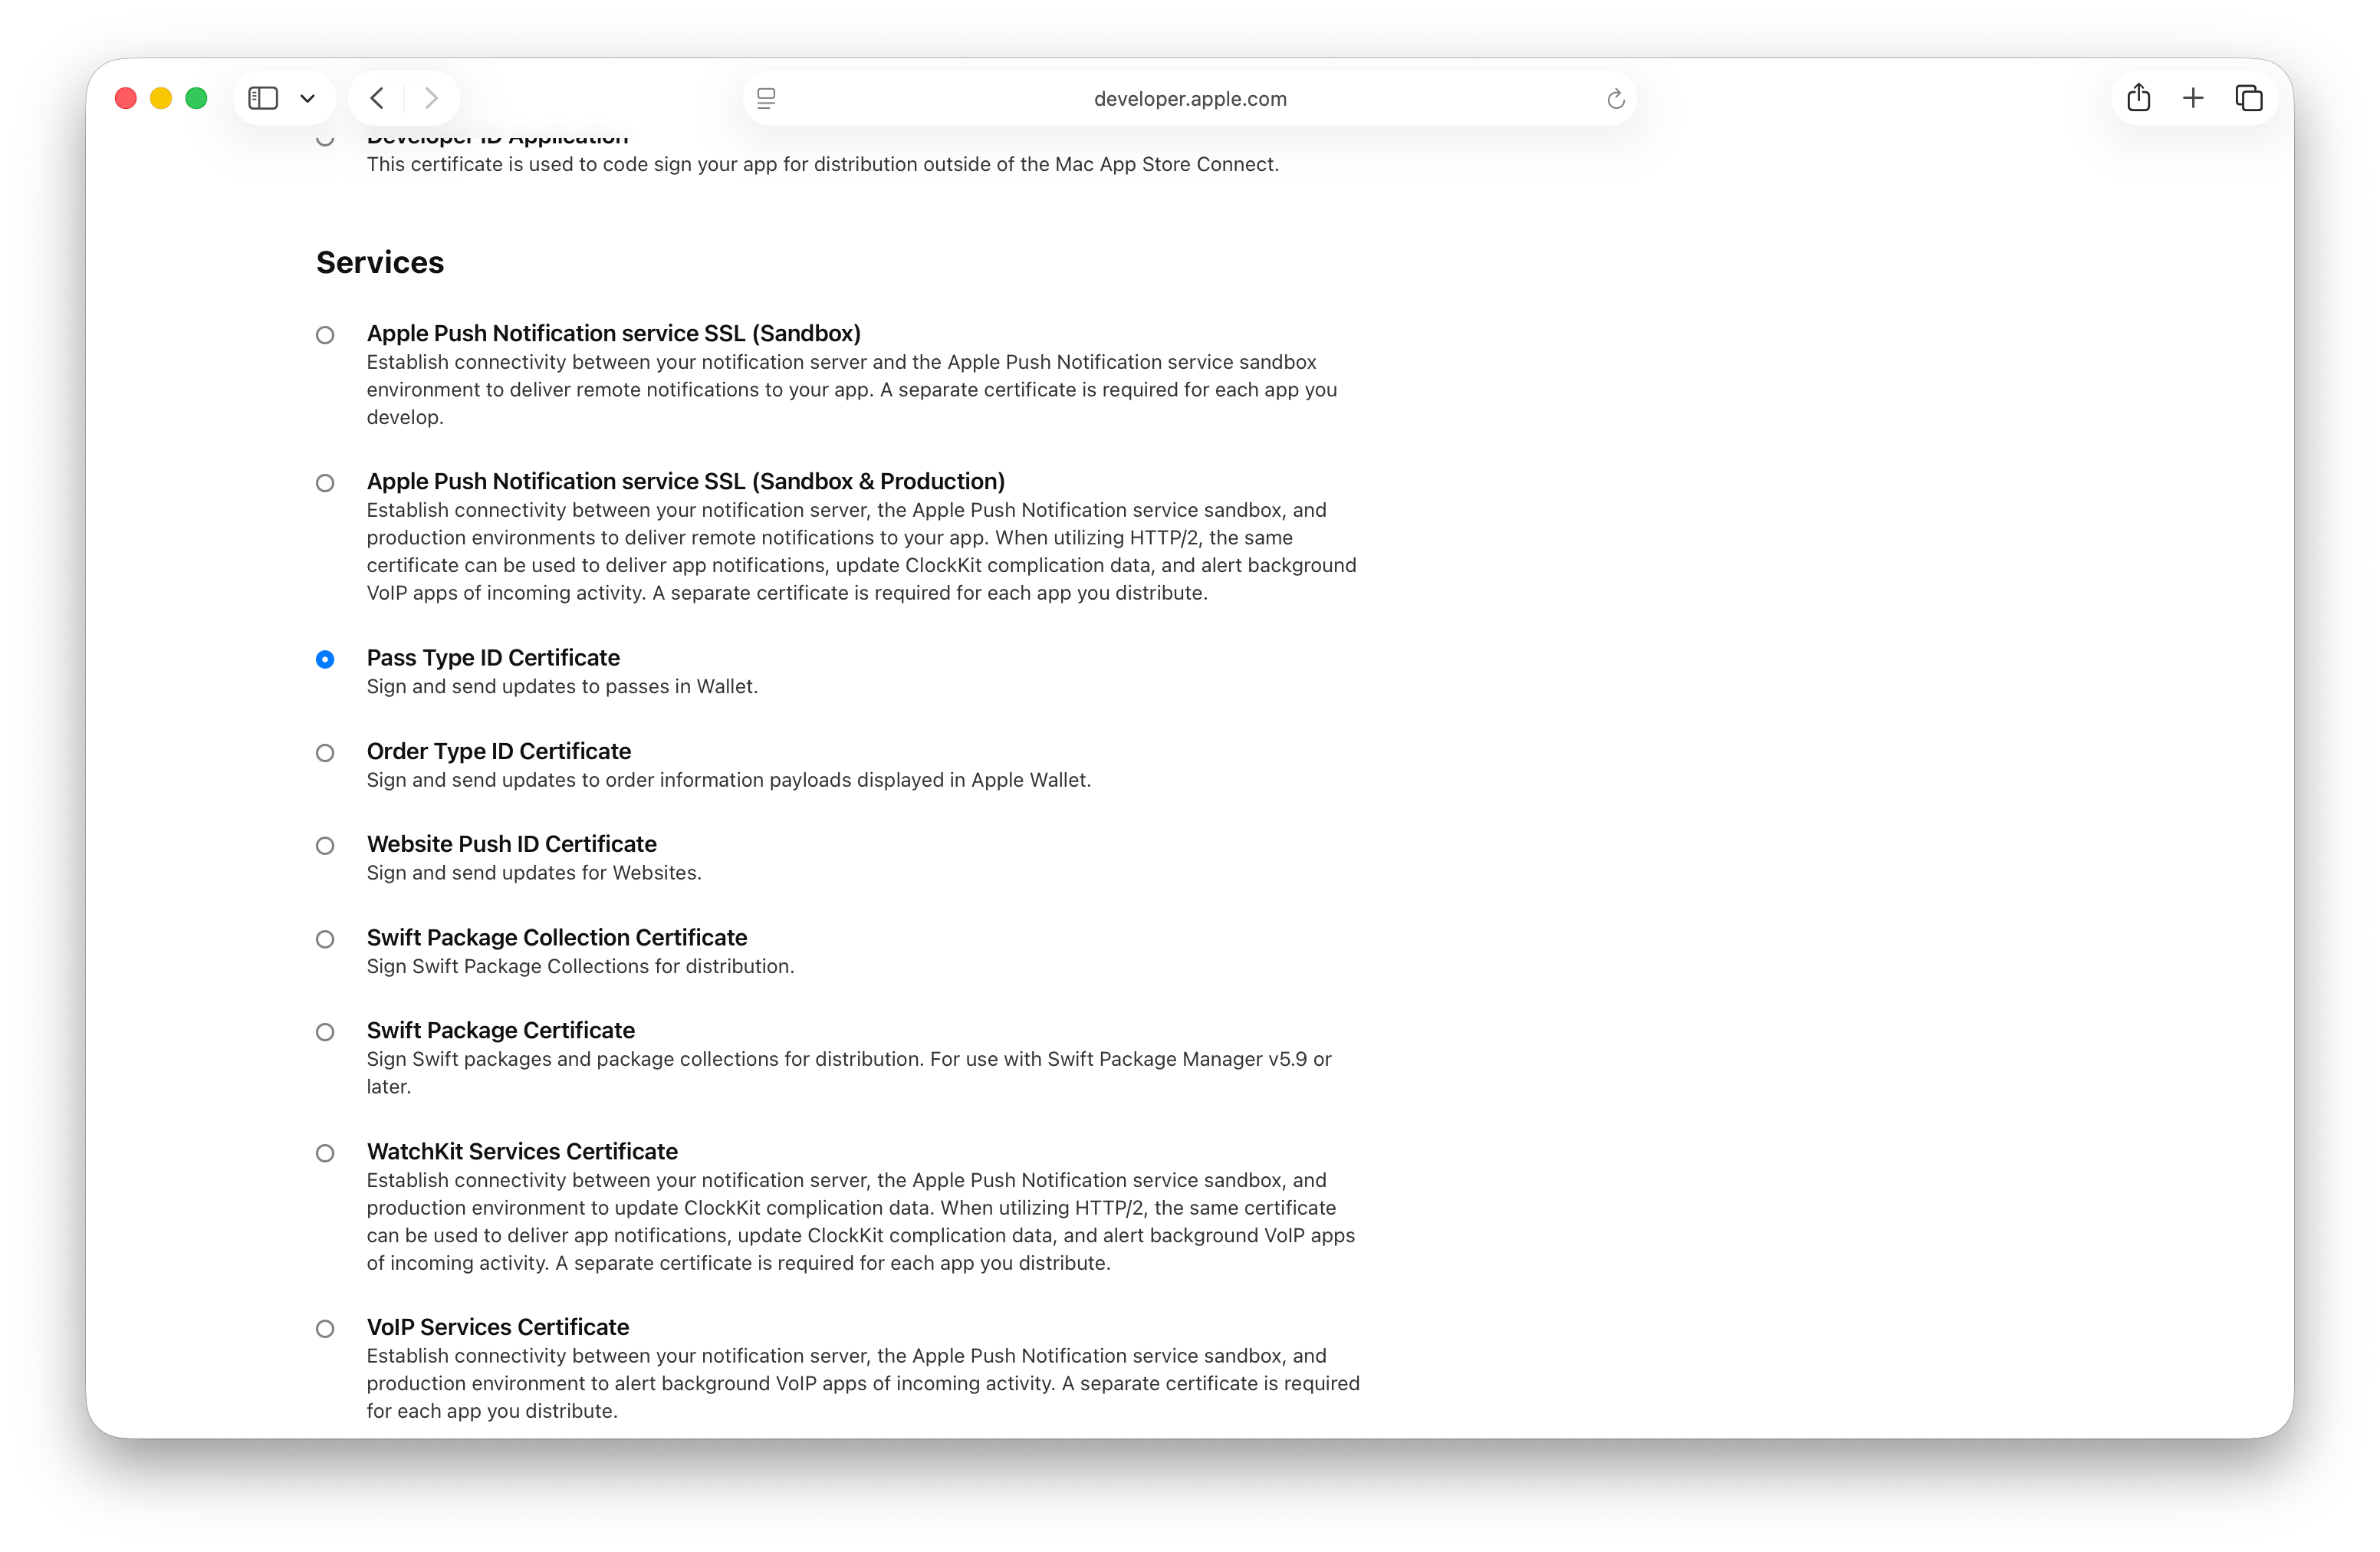
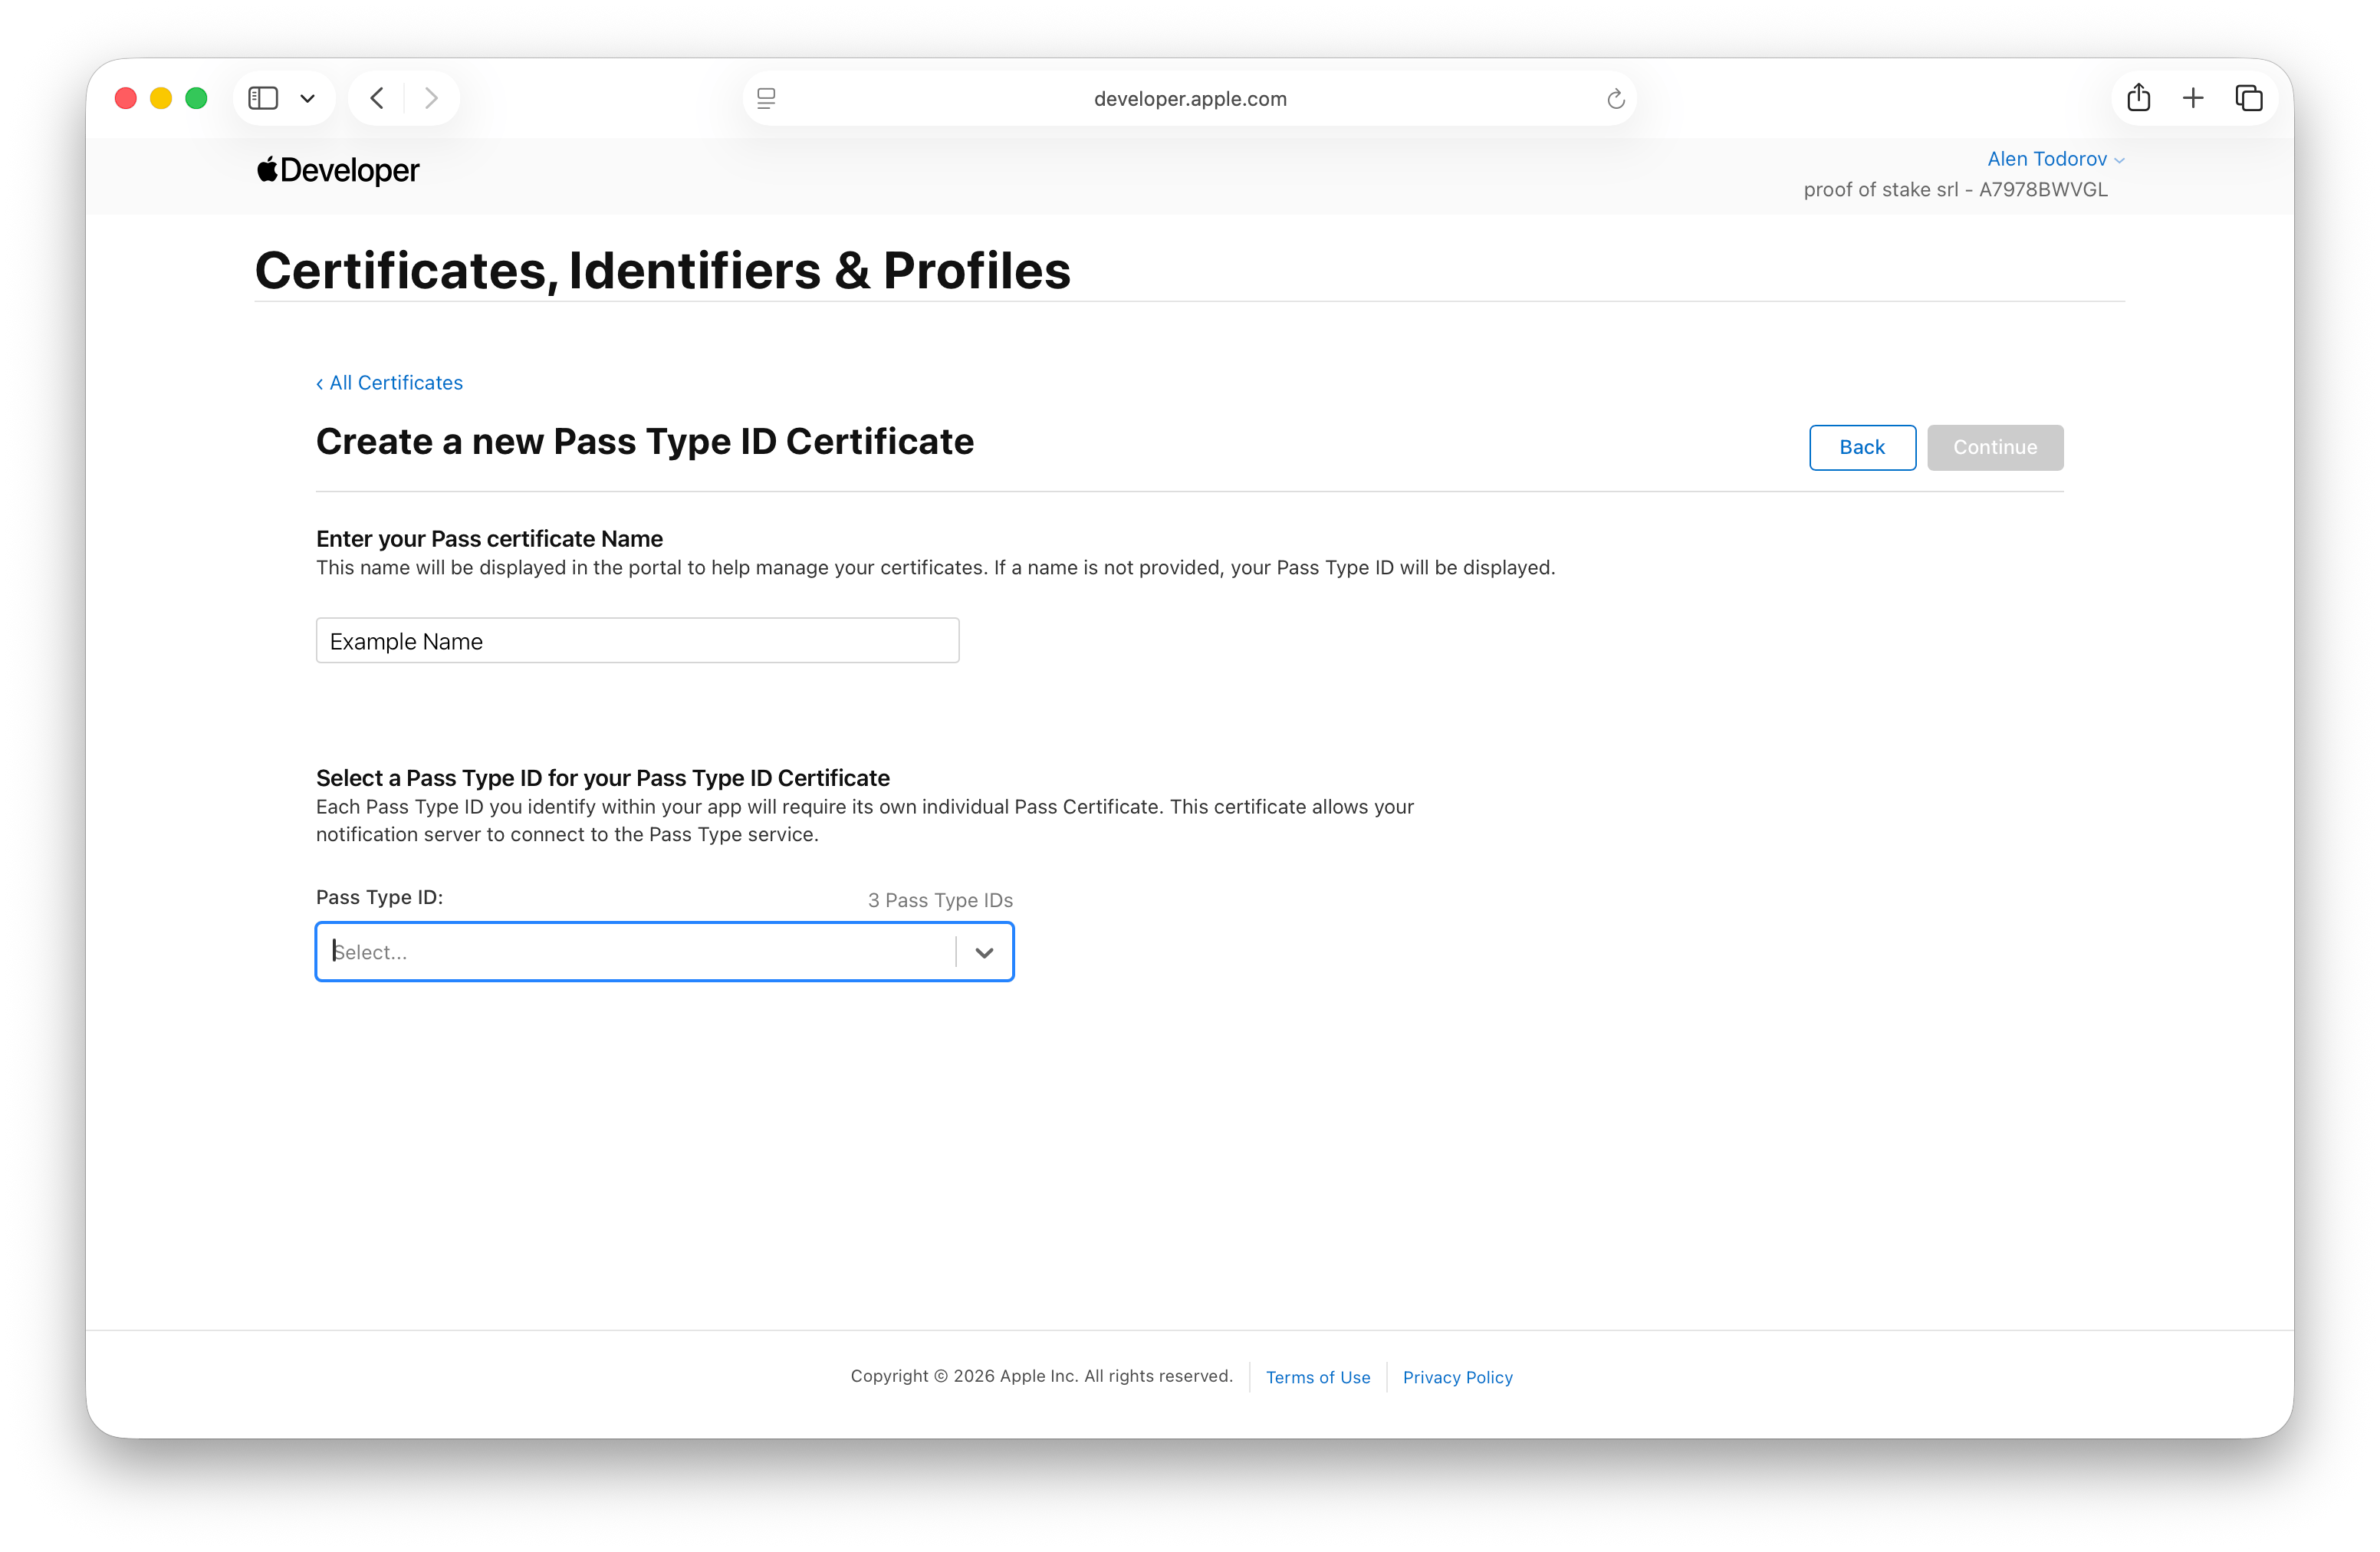
Open Certificates and click the plus button. Under Services (not Software), choose Pass Type ID Certificate, click Continue, and pick the Pass Type ID from step 3. Apple now asks for a Certificate Signing Request.
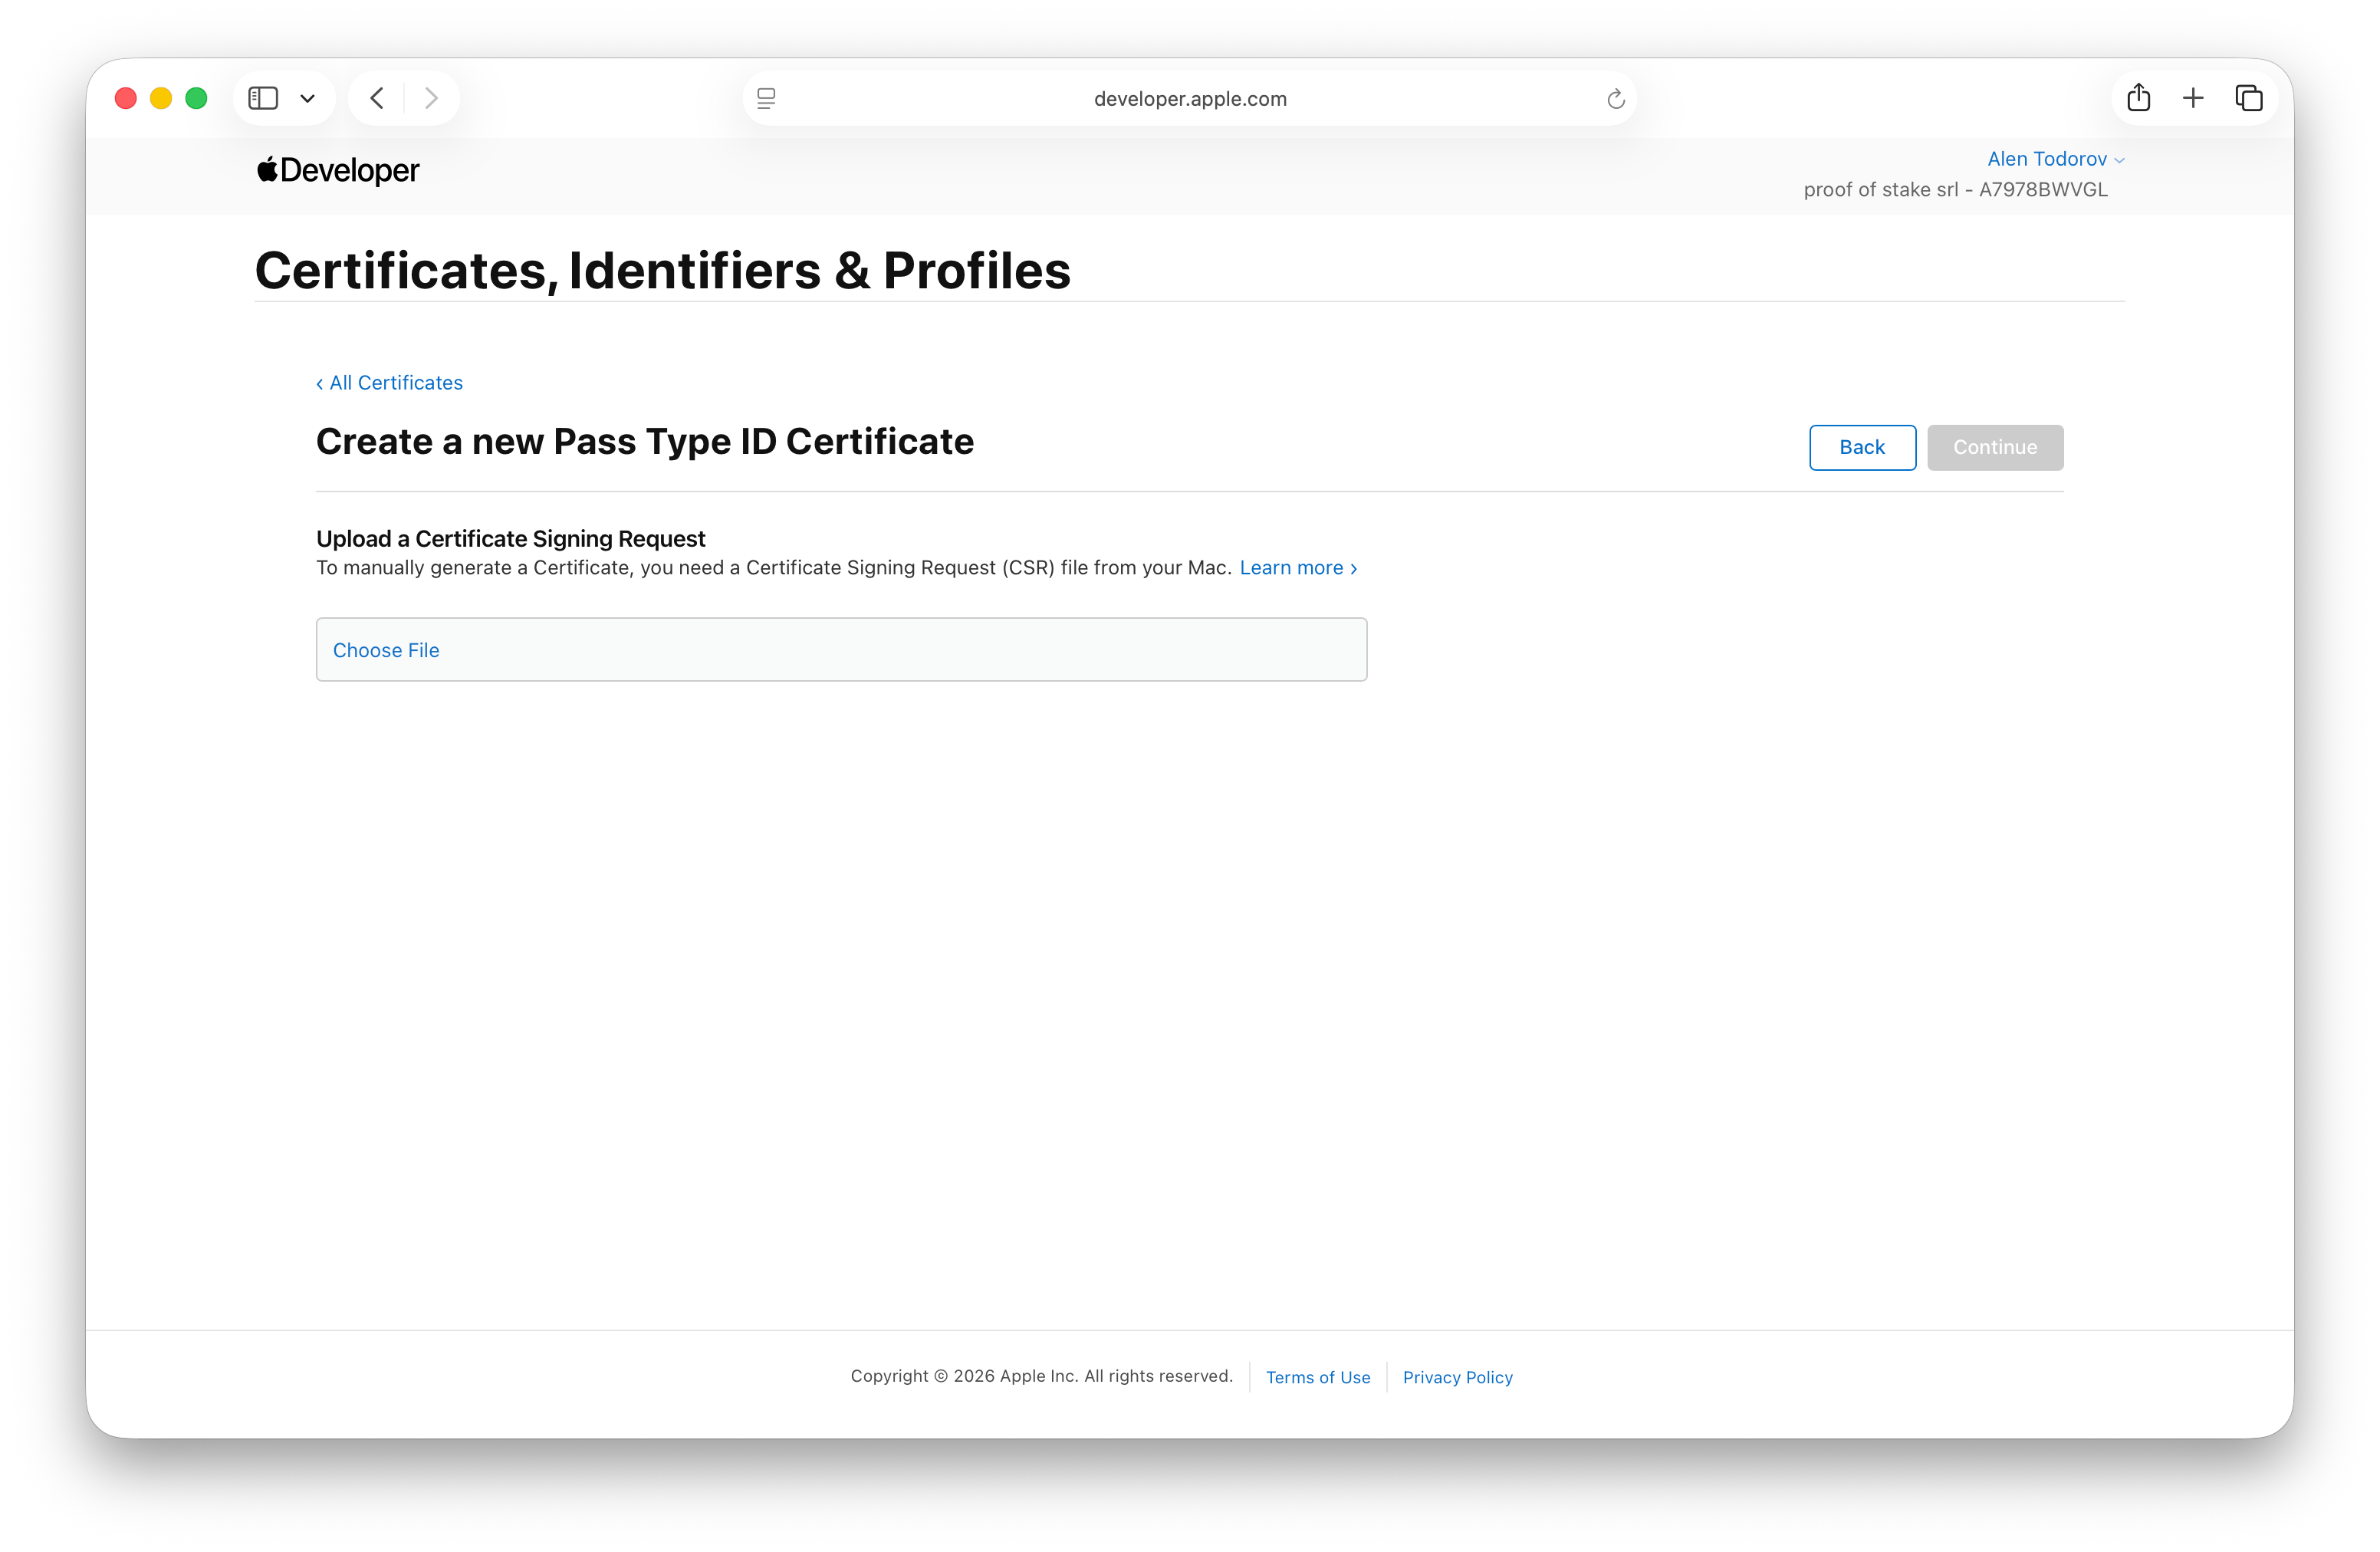
Apple’s own instructions at this point use Keychain Access on a Mac. With WalletWallet you skip Keychain and openssl:
- In the WalletWallet dashboard, open
Certificates and create a credential set (for
example
loyalty). Credential sets come with the trial and every paid plan. - Under Apple Wallet, click Generate signing request. WalletWallet
creates the key pair, keeps the private key encrypted on its side, and your
browser downloads a
.certSigningRequestfile.
Back in the Apple tab, click Choose File, select that file, and click Continue.
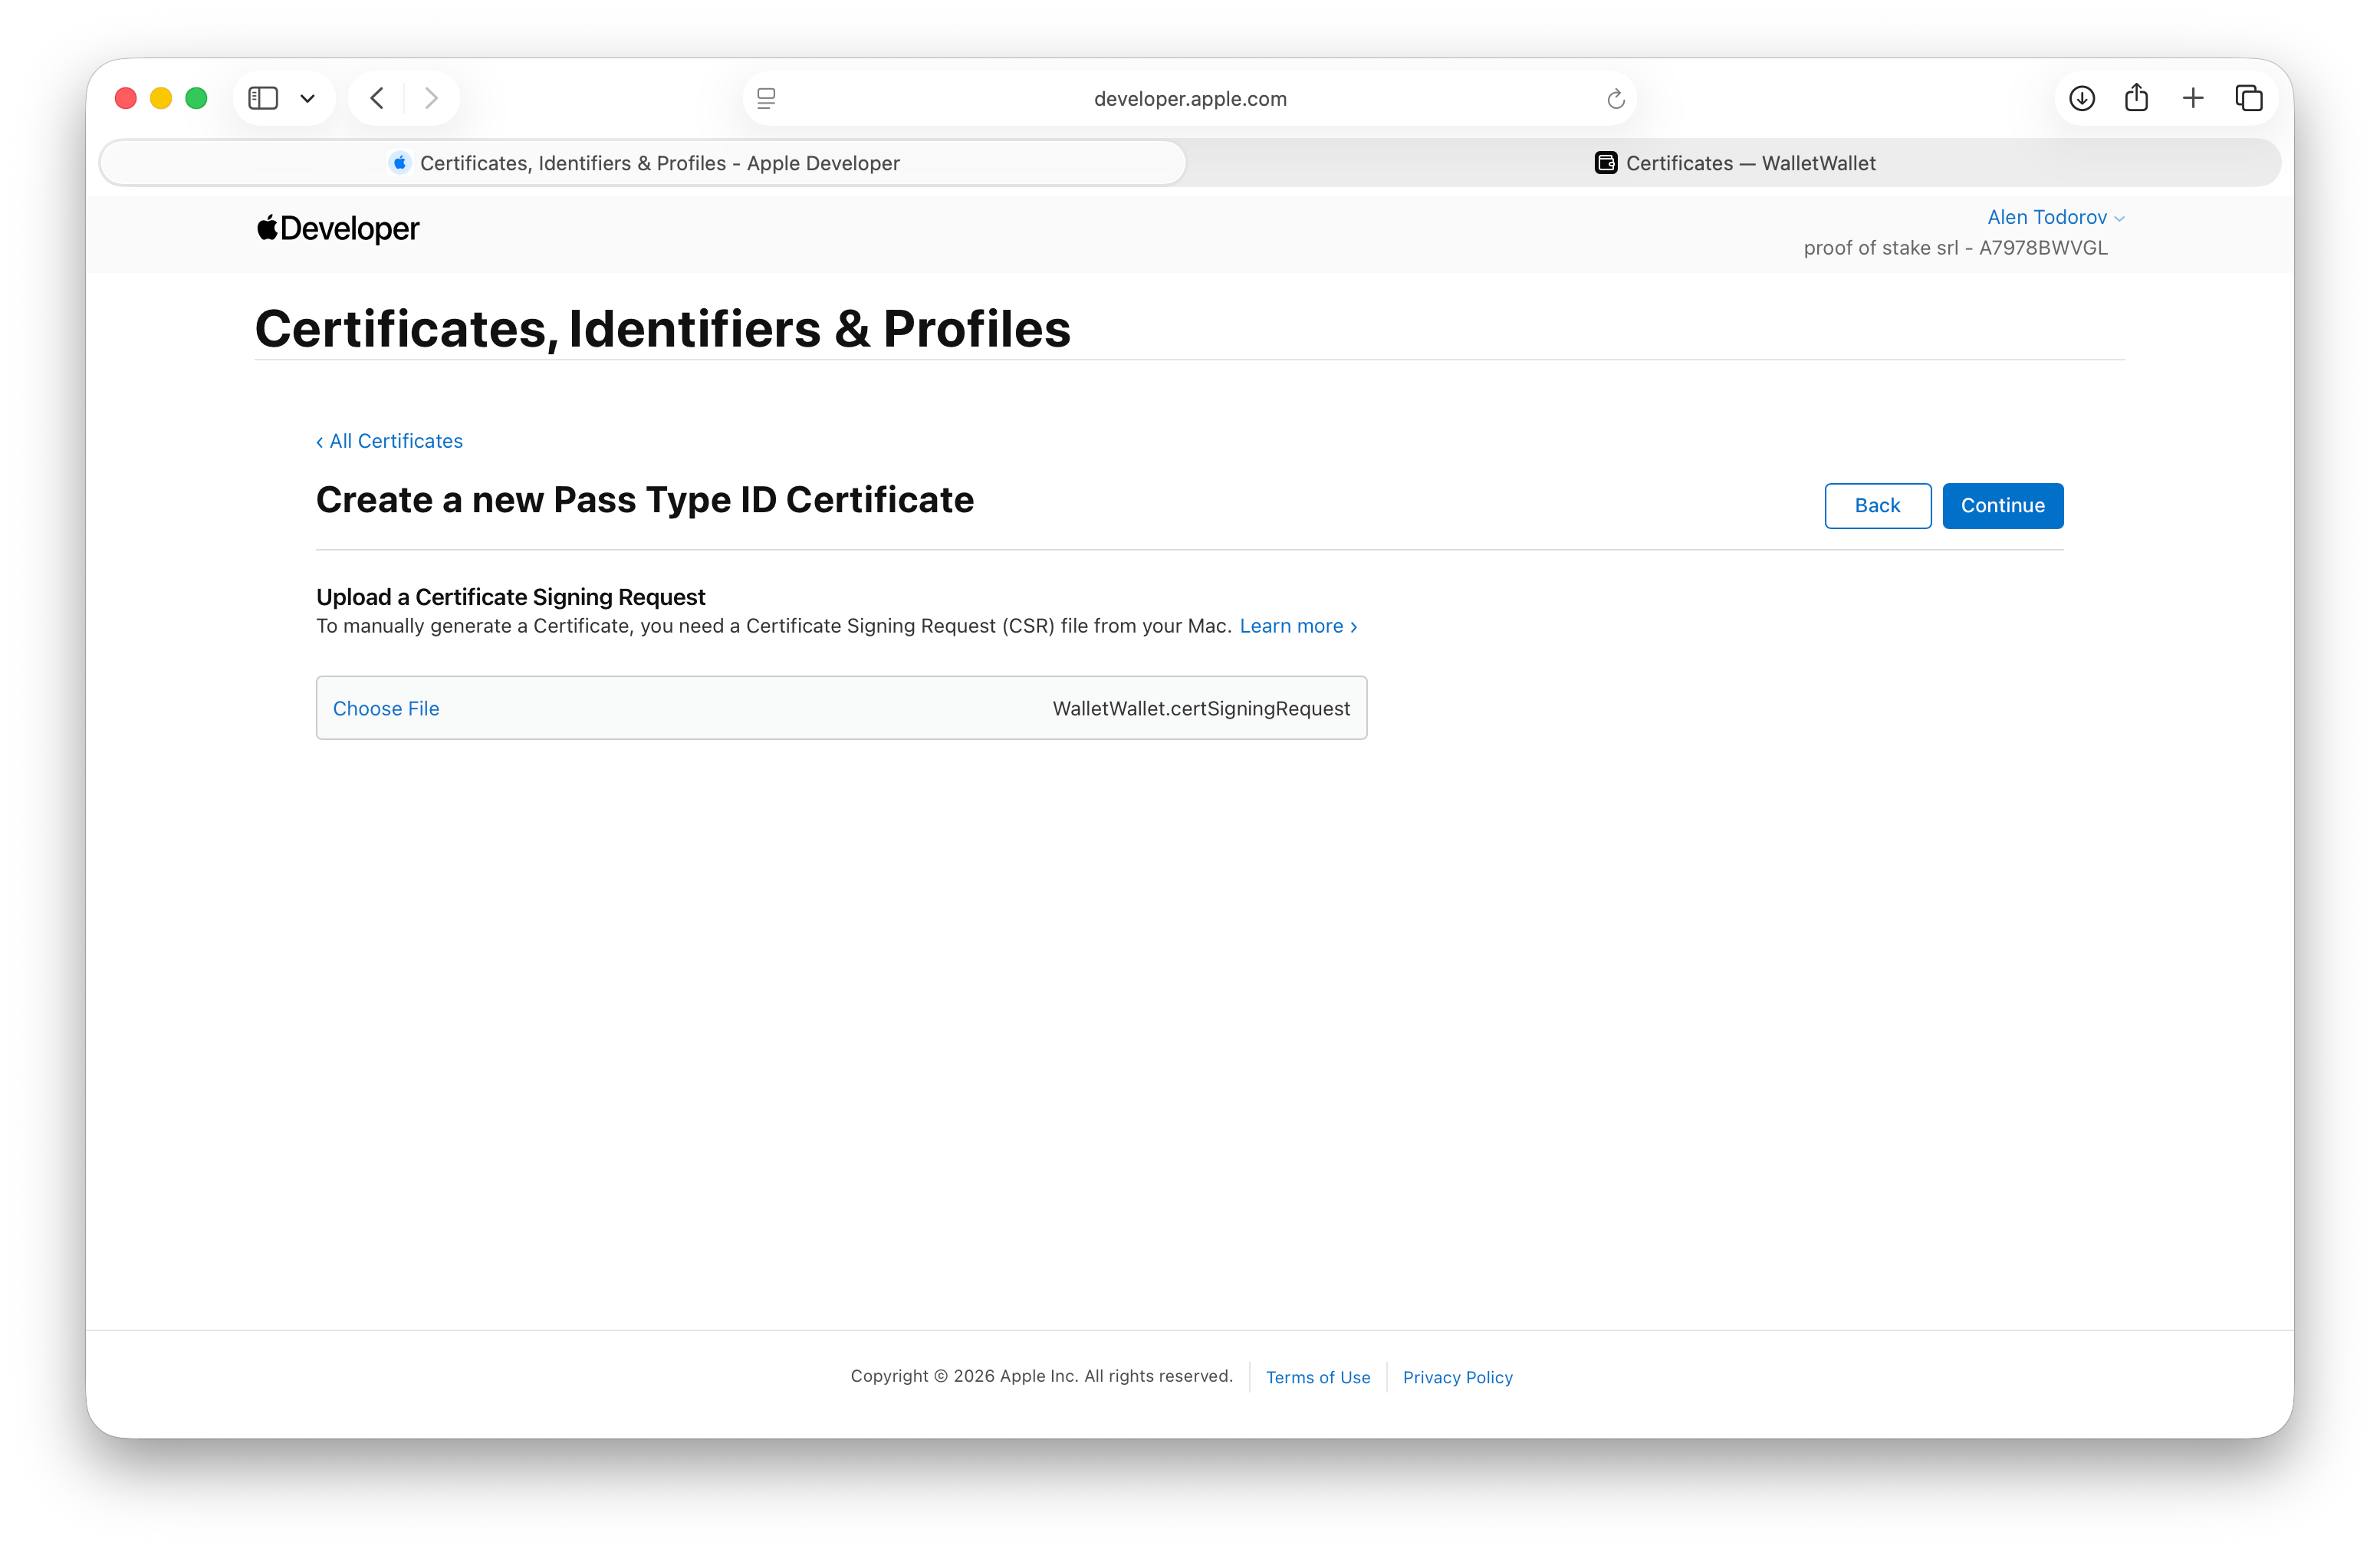
Apple issues the certificate. Click Download to save the .cer file.
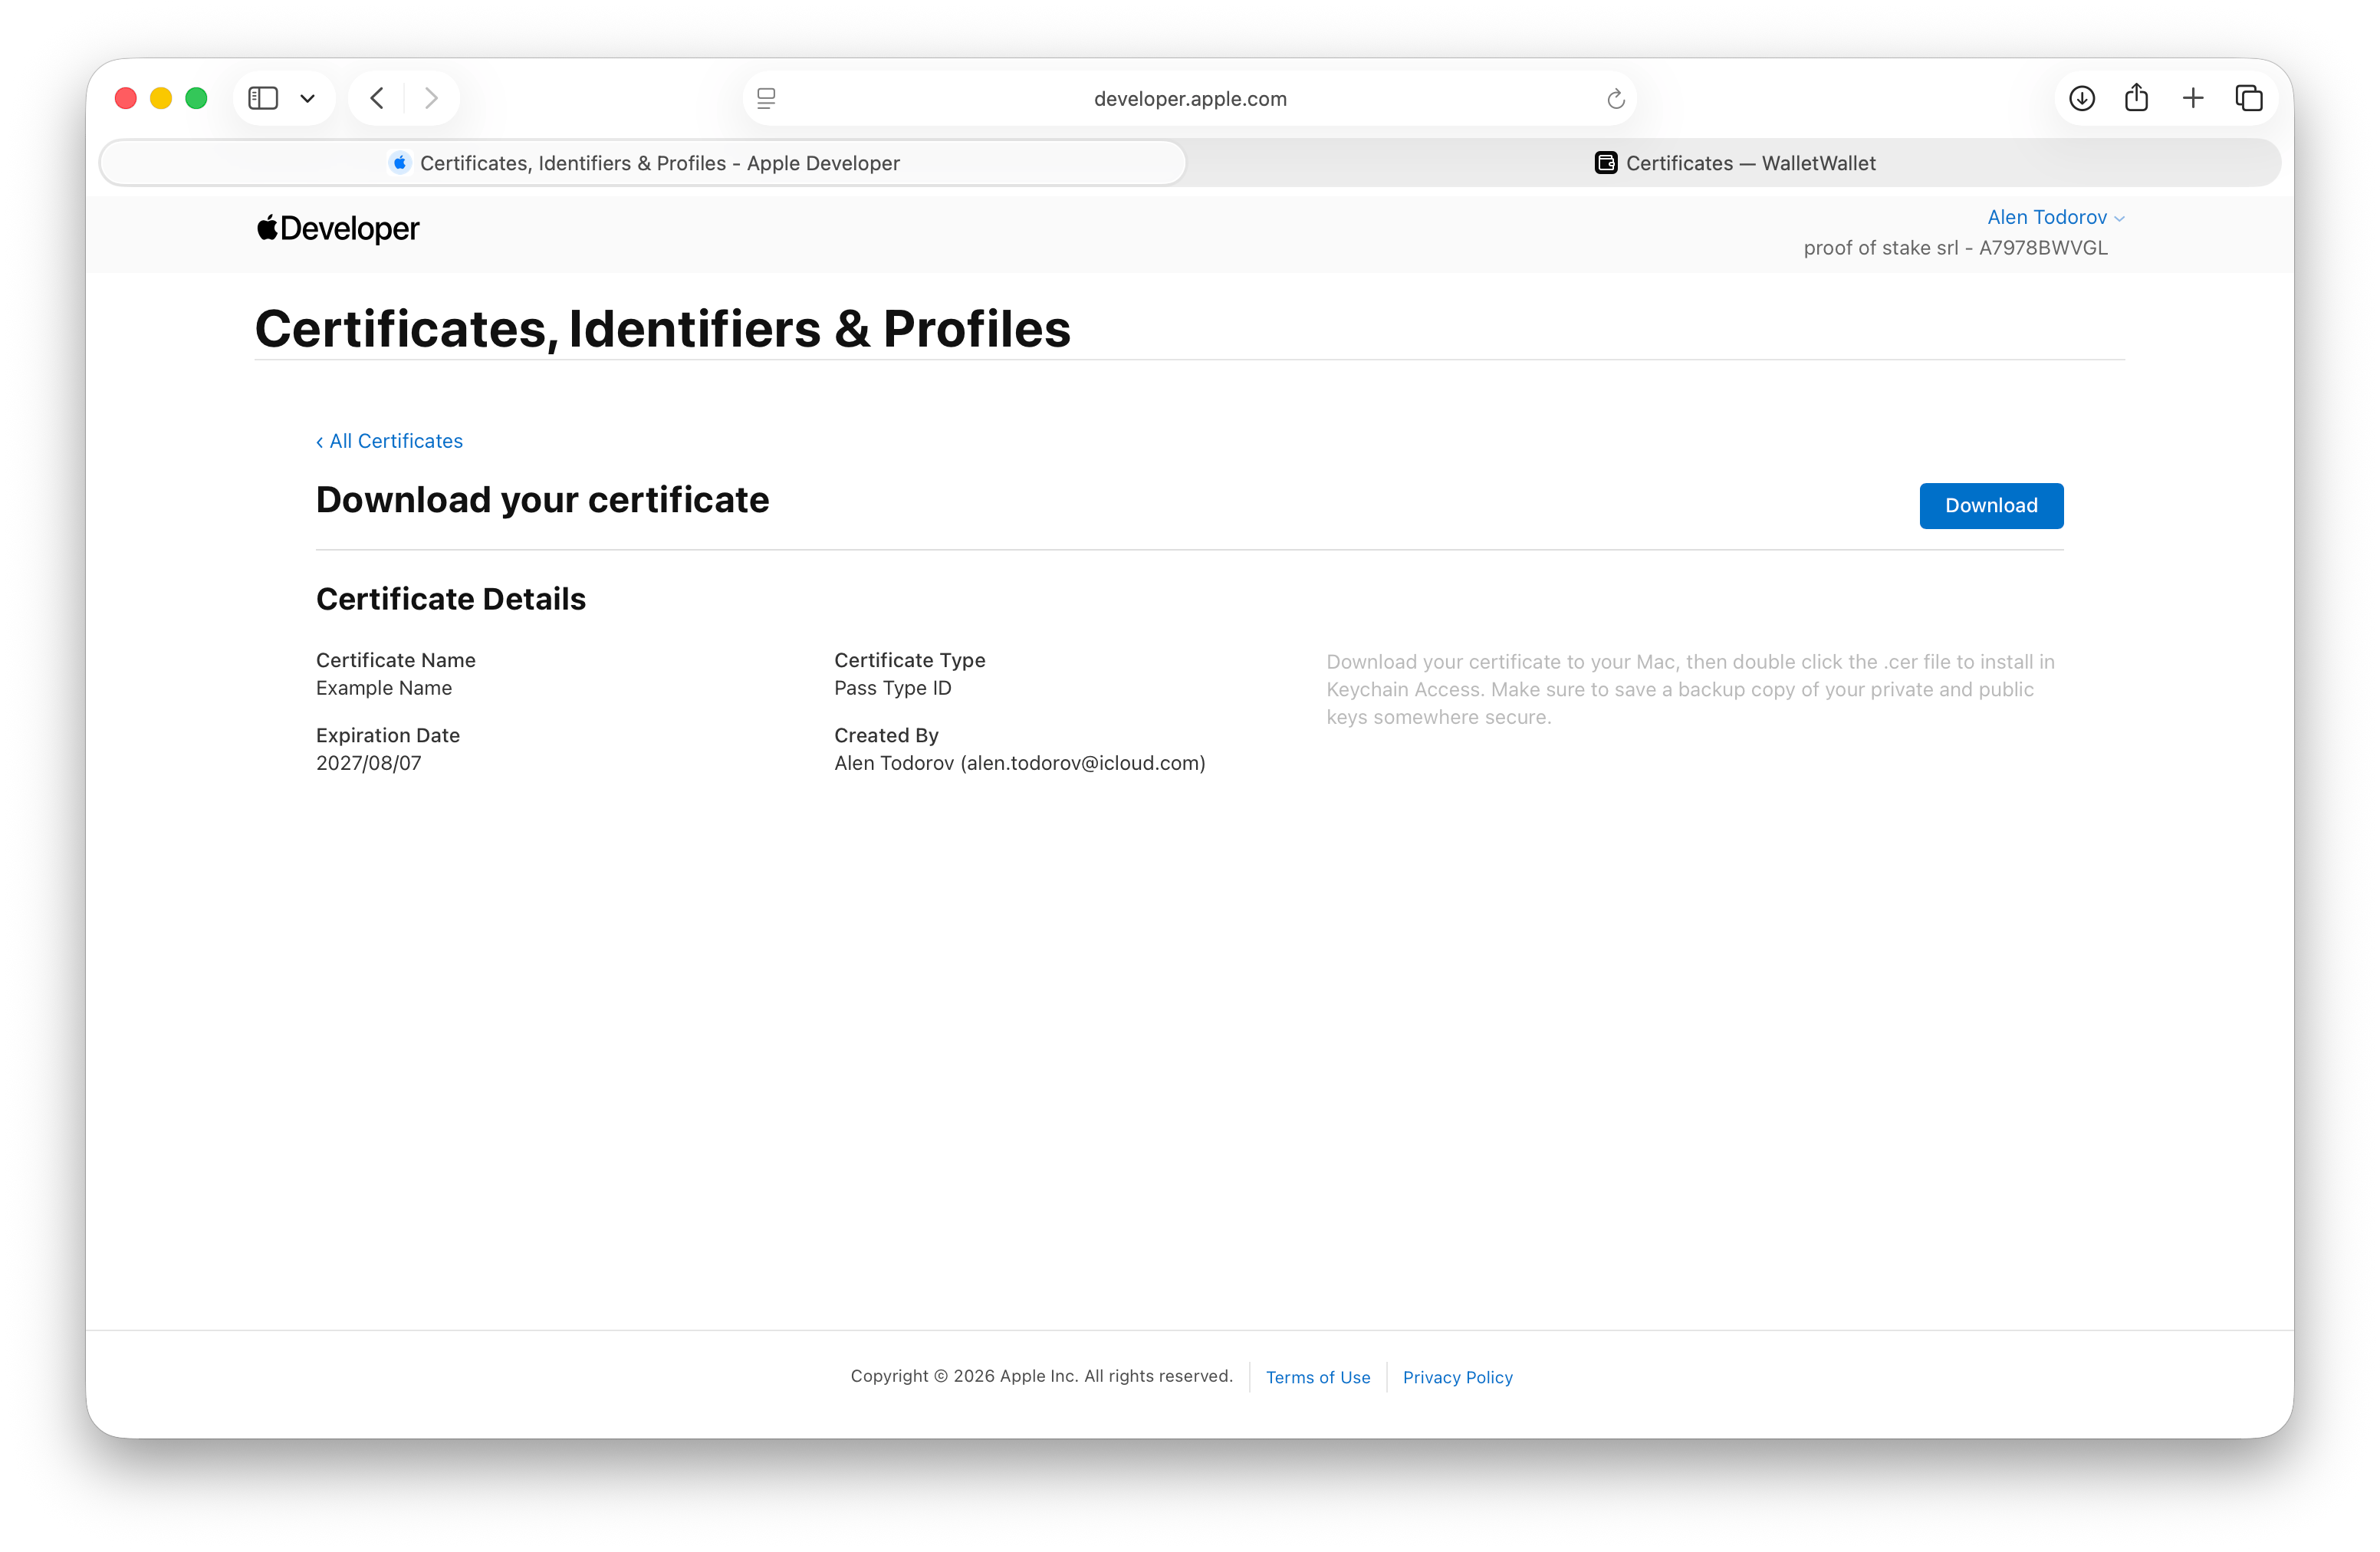
In the credential set, under Upload your certificate, choose the .cer and
click Upload certificate. WalletWallet reads the Pass Type ID and your Team
ID from the certificate, so there is nothing to type, and it shows the
certificate’s expiry date on the set.
Step 5: Create the push key for pass updates
Installed passes only receive updates (a new stamp count, a changed seat, a renewed membership) when the update is pushed through Apple Push Notification service. That needs an APNs auth key. Without one, passes still install, but WalletWallet cannot push a change to passes already on phones.
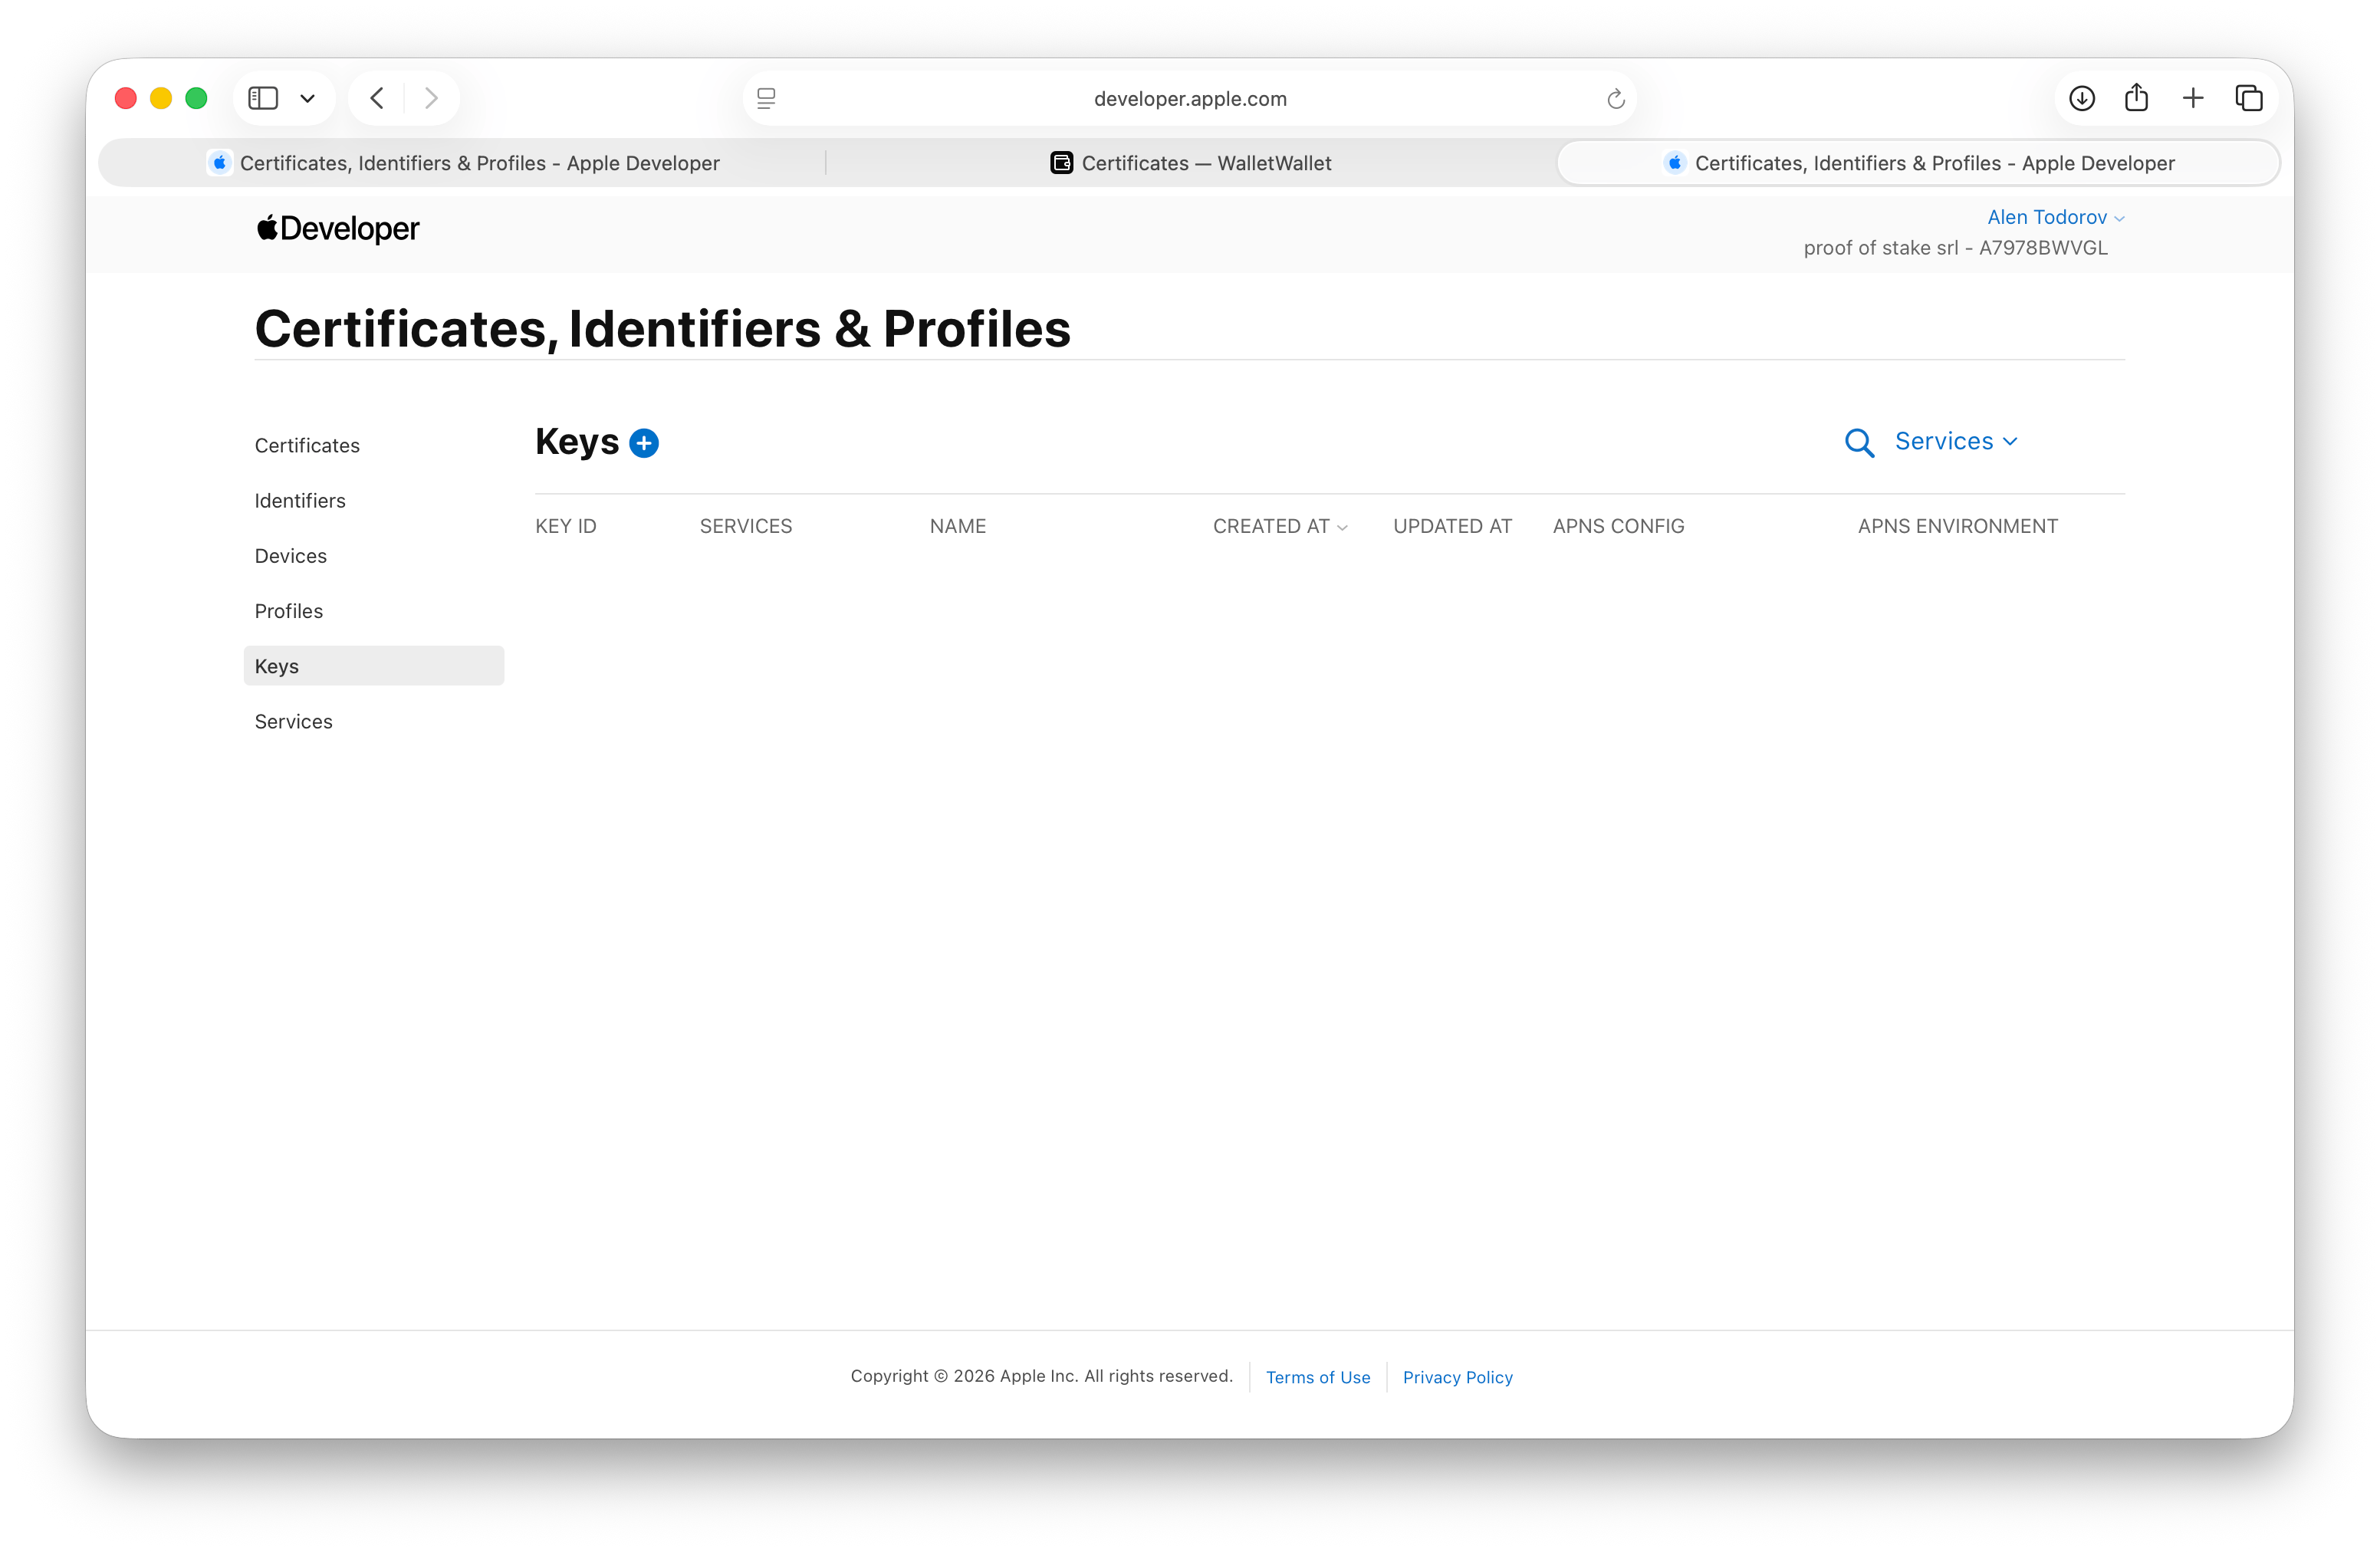
Open Keys and click the plus button.
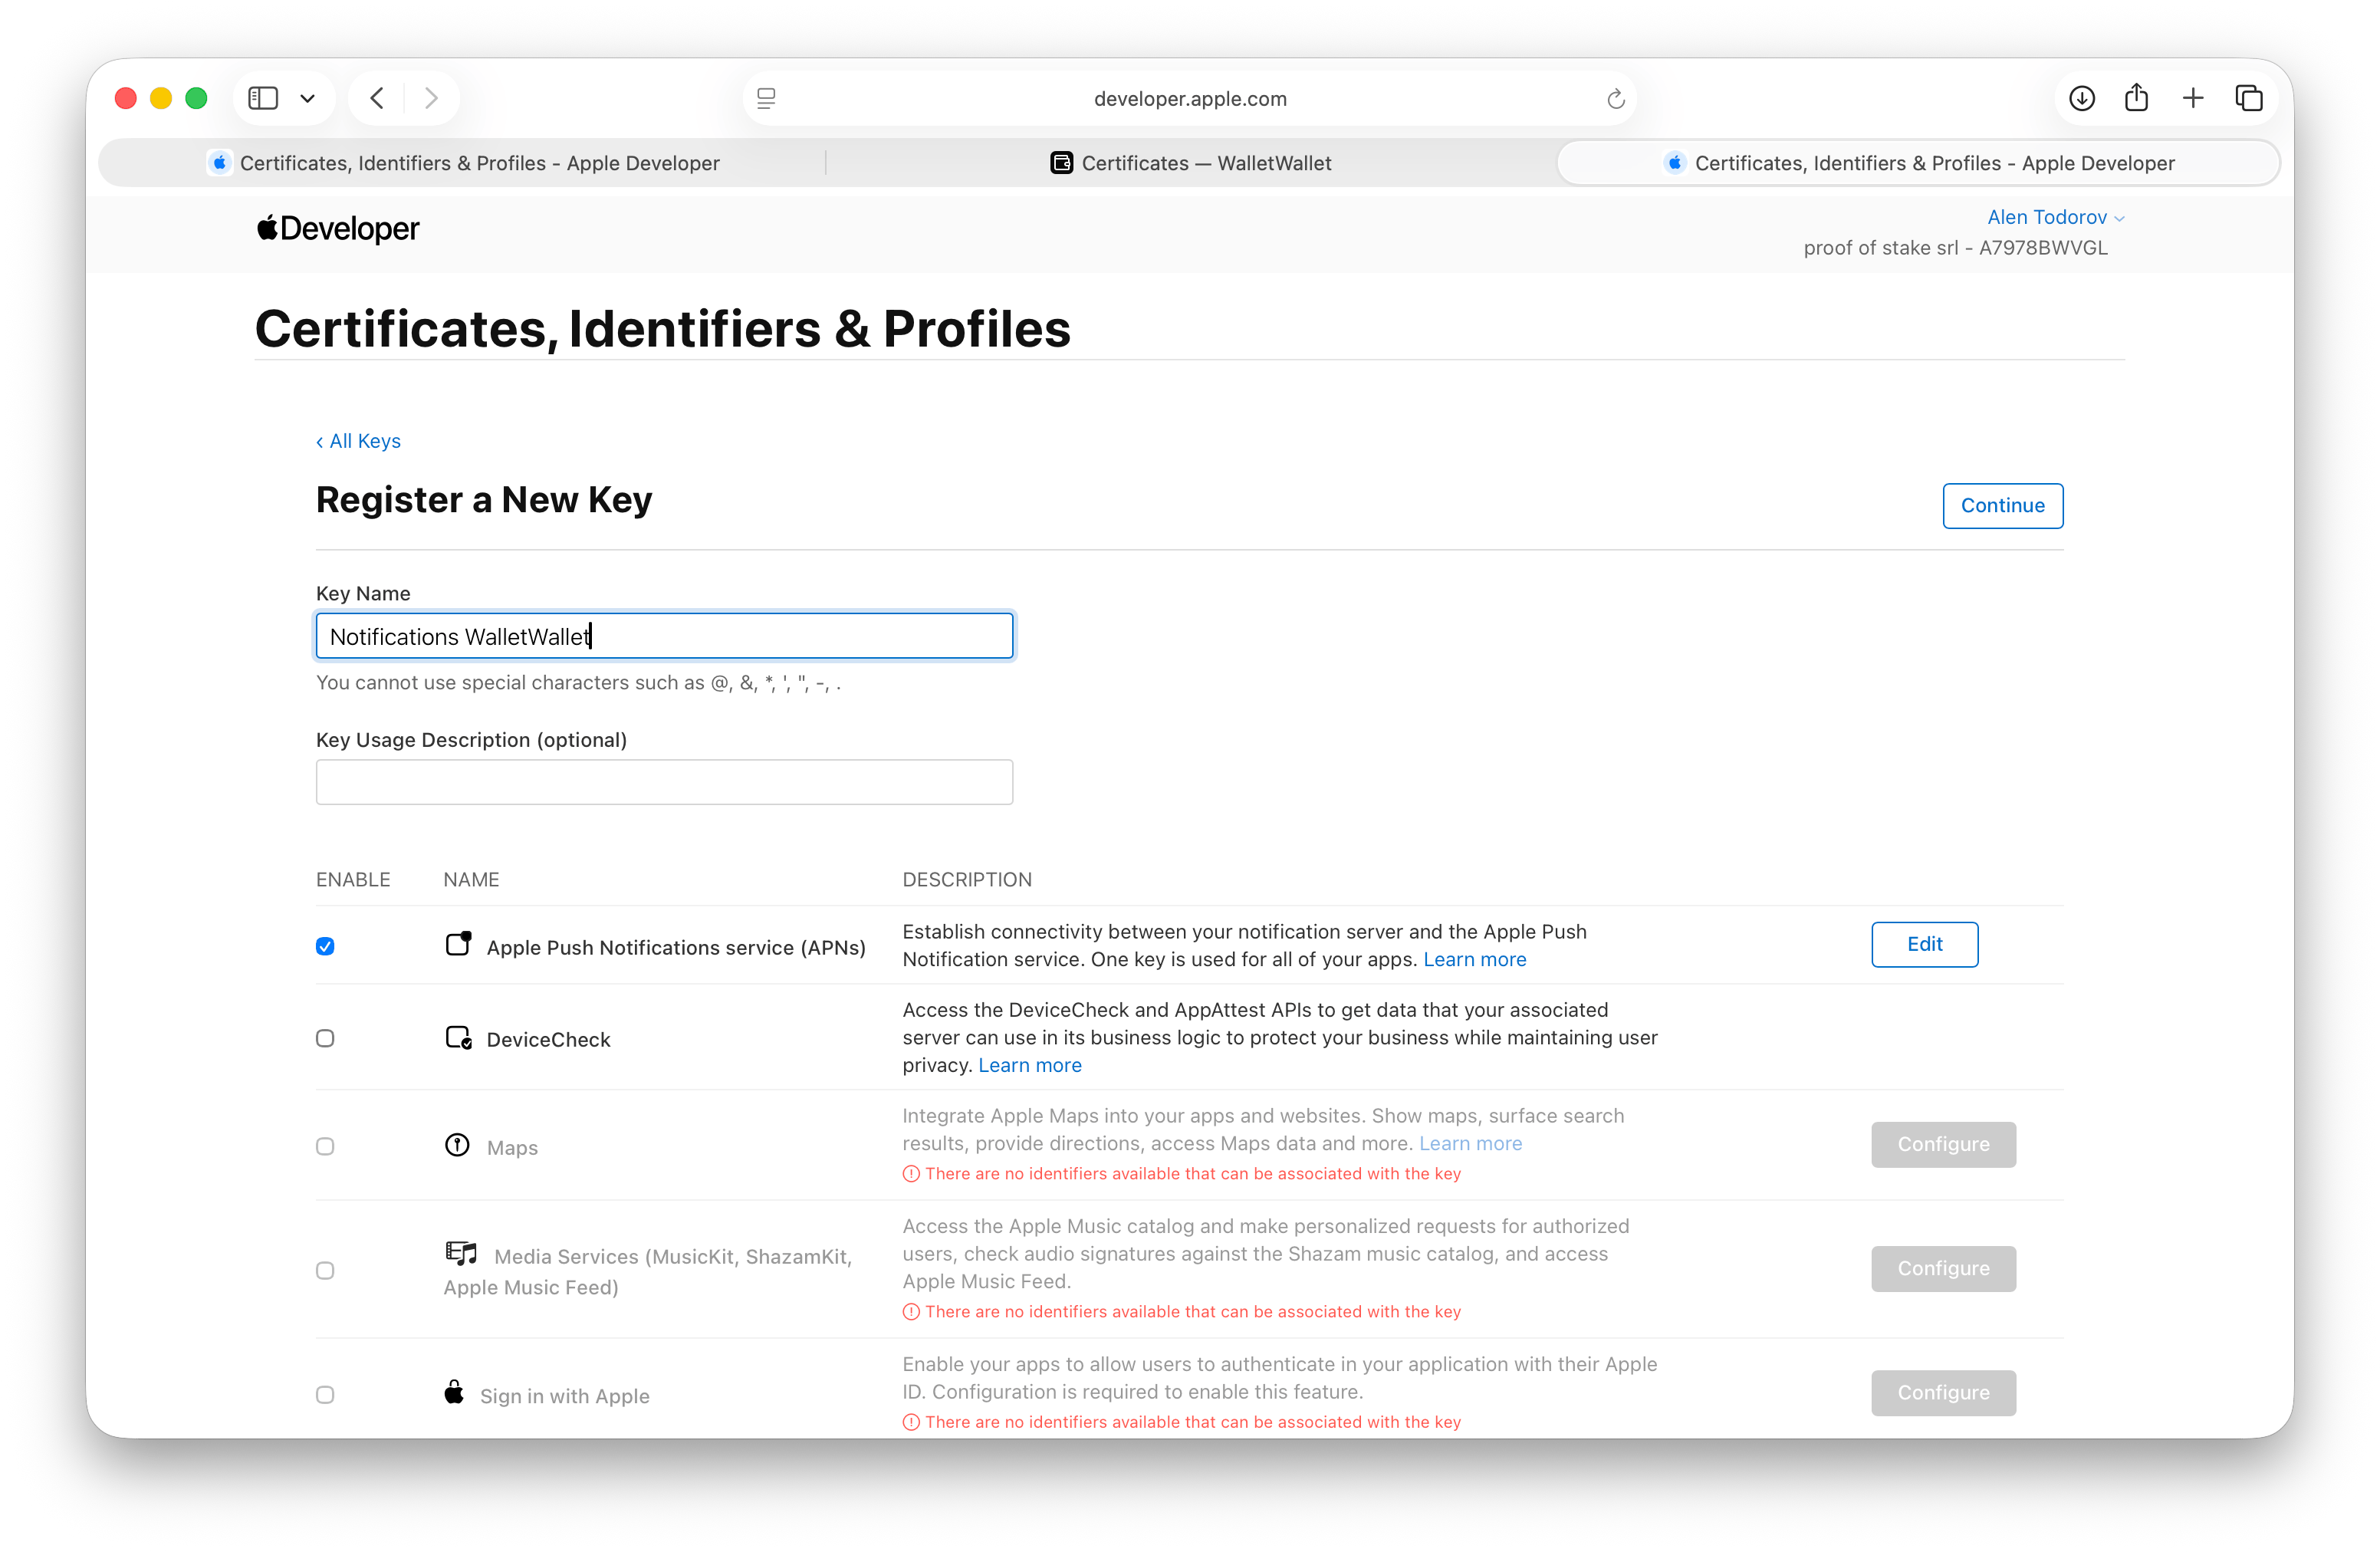
Name the key and tick Apple Push Notification service (APNs). Click Configure next to it, choose an environment that includes Production (Wallet updates go through production APNs), and choose the Team Scoped key type so one key covers every Pass Type ID. Click Continue, review the key, and click Confirm. Apple limits how many APNs keys a team can hold, so reuse this key rather than creating one per project.
Download the .p8 file. Apple lets you download it once, so store a copy
somewhere safe.
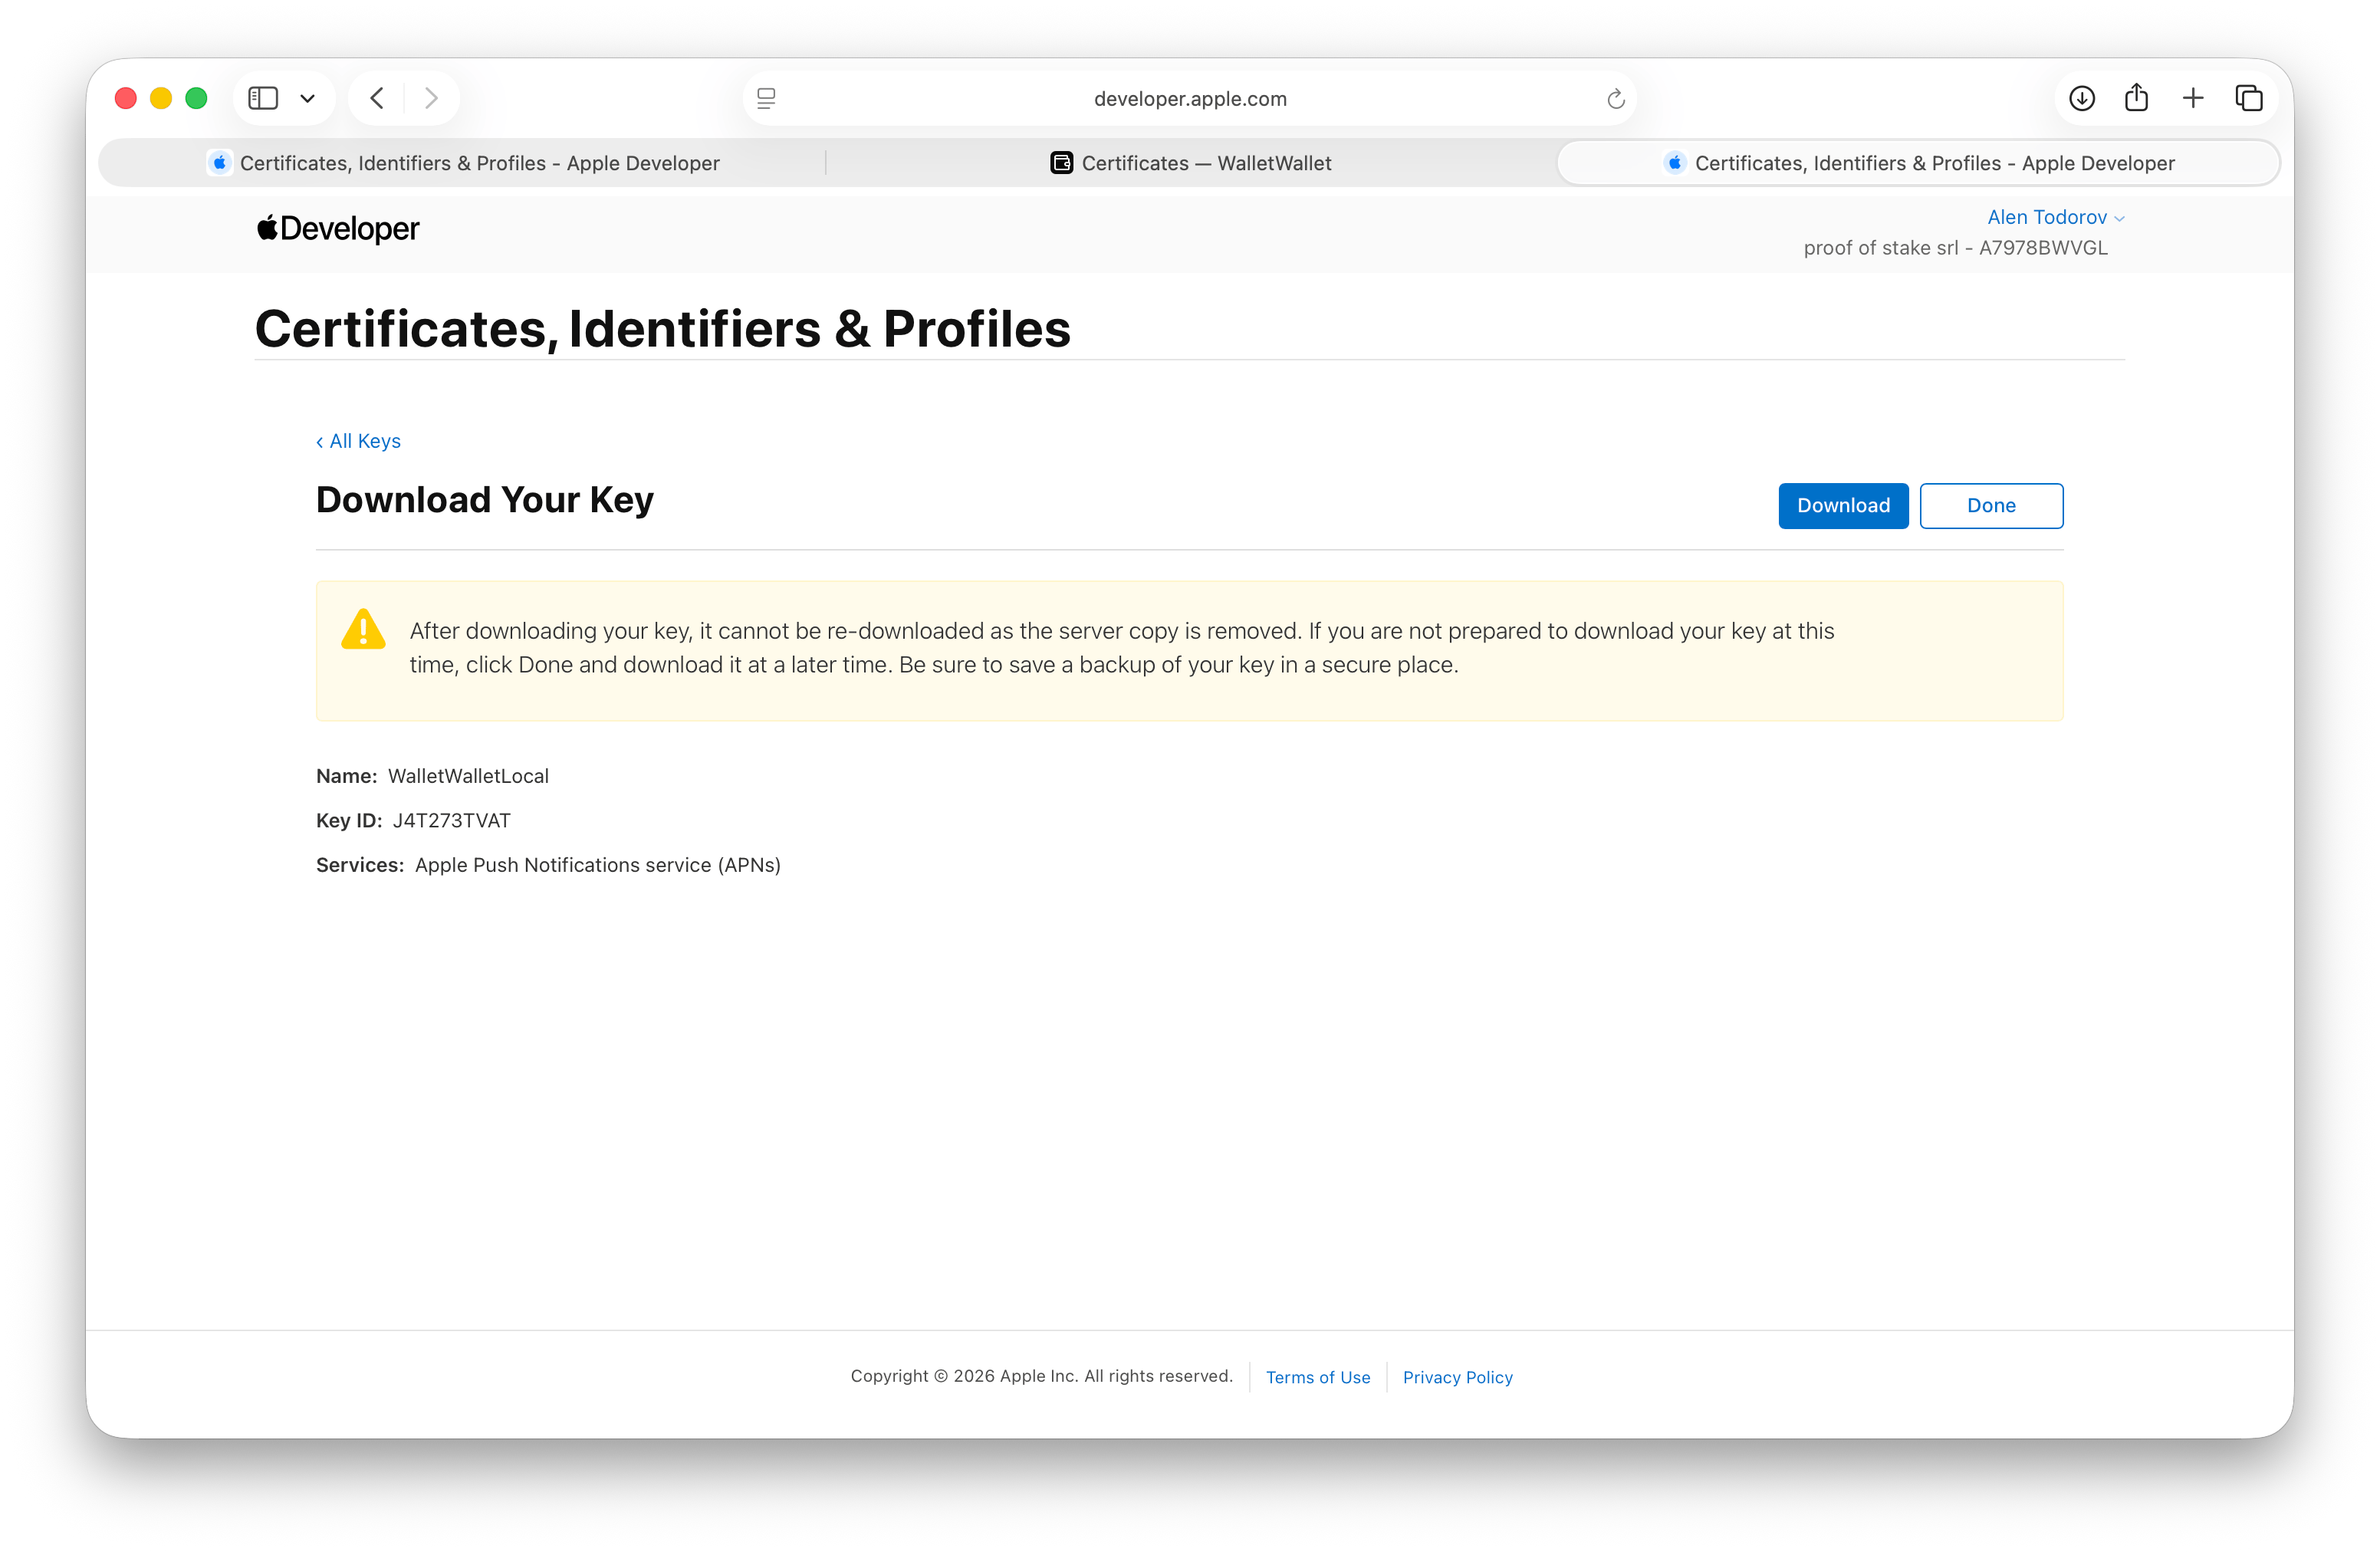
The key’s page shows its Key ID, a 10-character code.
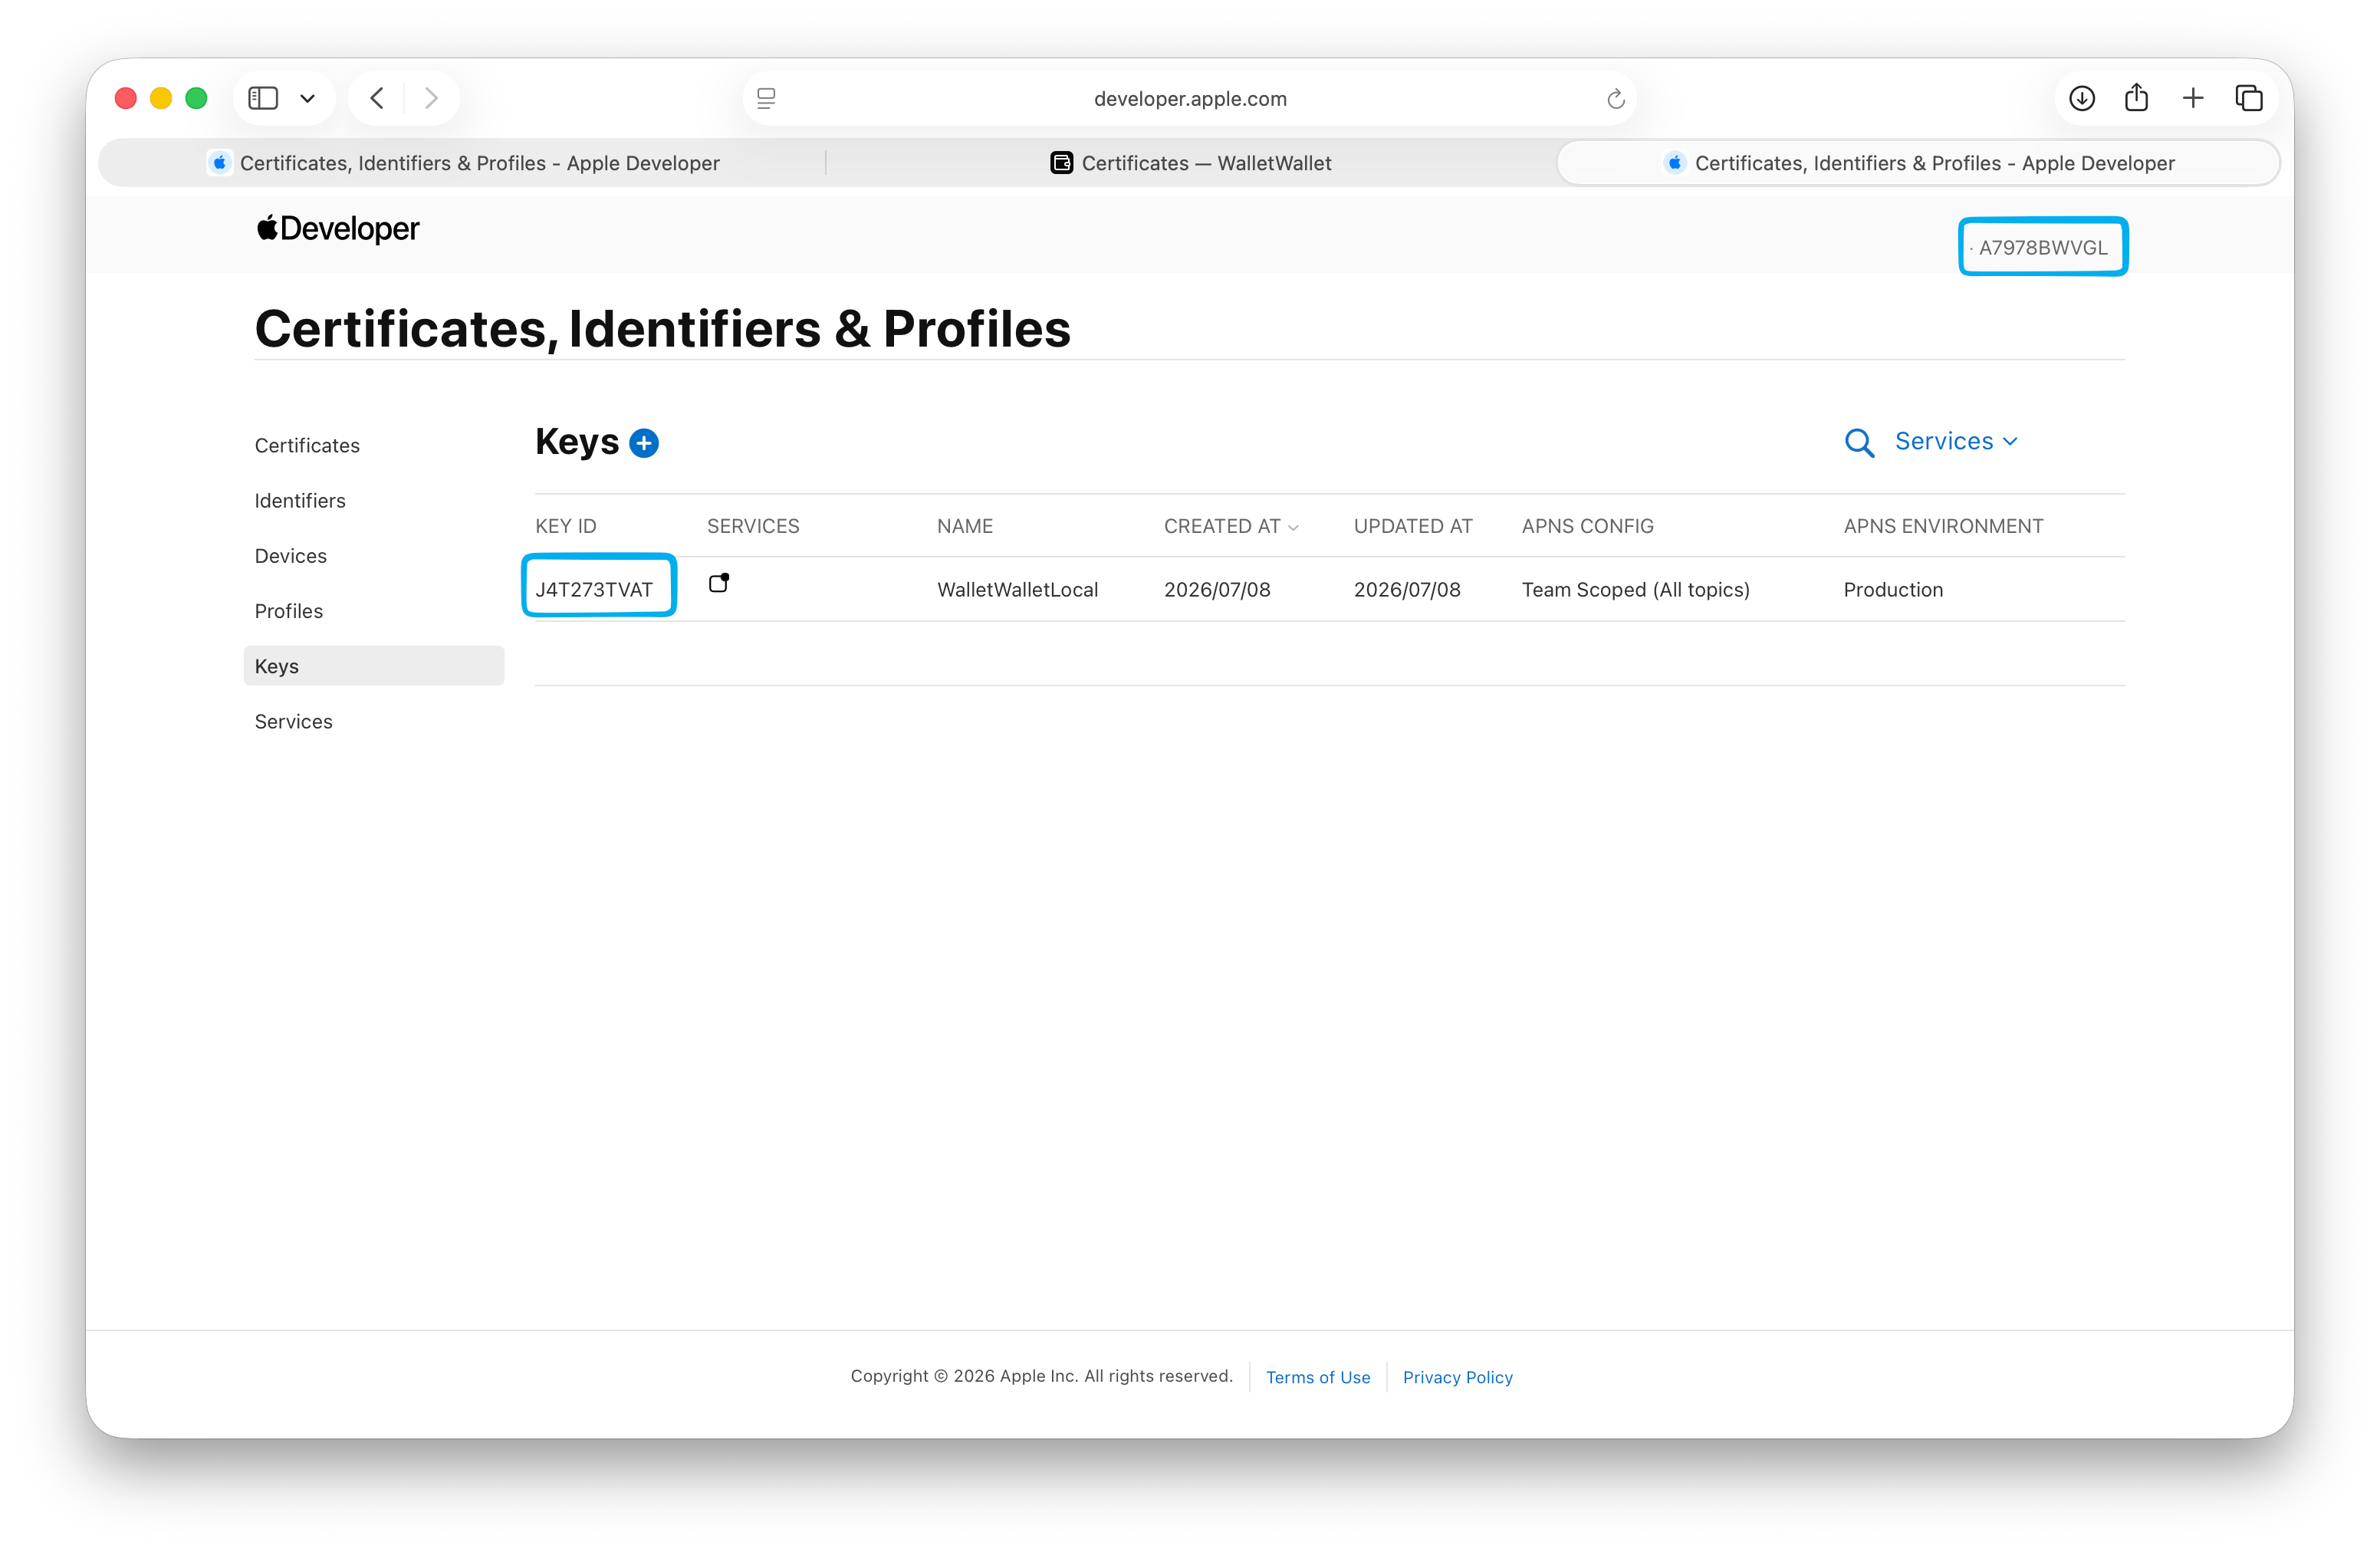
In the credential set, under Add your push key, paste the Key ID, choose the
.p8 file, and click Add push key. Upload the certificate first, because
the push key attaches to the Team ID read from it.
Step 6: Issue a pass with your certificate
The credential set now holds your certificate and push key. In the Pass Editor,
pick the set before you create a pass. Through the API, send its slug in the
credentials field:
curl -X POST https://api.walletwallet.dev/api/passes \
  -H "Authorization: Bearer ww_live_..." \
  -H "Content-Type: application/json" \
  -d '{
    "credentials": "loyalty",
    "title": "Bayroast Coffee",
    "barcodeFormat": "QR",
    "barcodeValue": "MEMBER-4821",
    "primaryFields": [{ "label": "Member", "value": "Ada L." }],
    "secondaryFields": [{ "label": "Stamps", "value": "3 / 10" }]
  }'
The pass is signed with your Pass Type ID and your Team ID, and updates to it are pushed with your key. The full request shape is in the docs.
Keeping it running
- Renew the membership every year. App enrollments renew automatically as an App Store subscription. Web enrollments renew from the account, with automatic renewal offered in some regions.
- Watch the certificate expiry. Pass Type ID certificates expire. The date is on the credential set, and renewing means repeating step 4 with a new signing request from WalletWallet.
- Keep the Account Holder reachable. Only the Account Holder can accept updated Apple agreements, and Apple can limit access to the account until they do. Use a role that outlives one employee where possible.
Common reasons Apple delays an enrollment
- An alias or company name in the Apple Account’s first and last name fields.
- A legal entity name that differs from the D-U-N-S record.
- A trade name, DBA, or branch entered instead of the legal entity.
- A P.O. box as the address.
- A website that is a placeholder, a social media page, or on a domain not associated with the organization.
Google Wallet
Google Wallet uses a different set of credentials: an issuer account in the Google Pay & Wallet Console and a service account key. The Google Wallet issuer account guide covers that side, and both end up in the same credential set.
Build your first wallet pass
Turn one JSON request into a pass that installs in Apple Wallet and Google Wallet, with live updates that reach both.